Manual Application Installation
For development and testing purposes, you can manually install web applications by directly copying them to the SD card filesystem. This method is useful when you want to test applications without using the Red Pitaya’s web interface or when deploying custom applications to multiple devices.
Installation Methods
Method 1: SD card direct access
This is the simplest method for installing applications when you have physical access to the SD card.
Step 1: Access the SD card
Remove the SD card from your Red Pitaya board
Insert the SD card into your computer’s card reader
Navigate to the SD card’s root directory
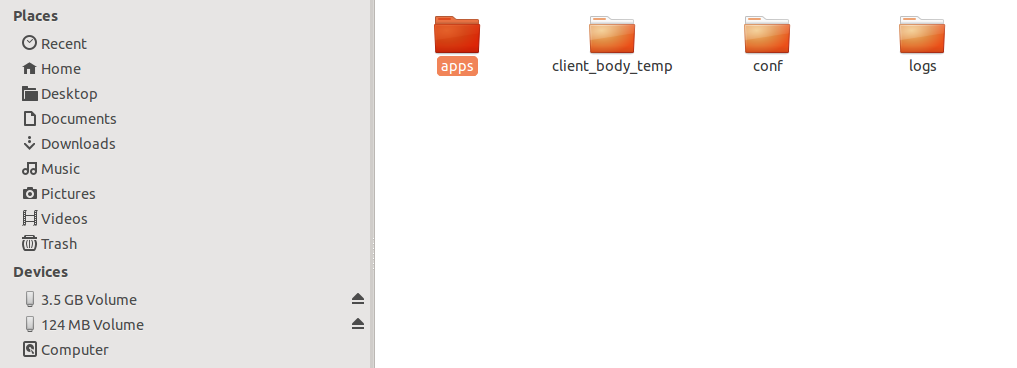
Step 2: Locate the applications folder
Browse to the www folder on the SD card:

The directory path should be:
<SD_CARD_DRIVE>/www/
Step 3: Copy your application
Navigate to the apps subfolder and copy your application folder here:
The full path should be:
<SD_CARD_DRIVE>/www/apps/<your_app_name>/
Important
Copy the entire application folder, including all subfolders (js, css, info, src, etc.)
Step 4: Safely eject and restart
Safely eject the SD card from your computer
Insert the SD card back into Red Pitaya
Power on or restart Red Pitaya
Your application should appear in the application list
Method 2: SCP file transfer
If you prefer to keep the SD card in Red Pitaya, you can transfer files via SCP.
Using SCP command
From your computer, transfer your application folder:
$ scp -r /path/to/your_app_folder root@rp-xxxxxx.local:/opt/redpitaya/www/apps/
Or using IP address:
$ scp -r /path/to/your_app_folder root@192.168.0.100:/opt/redpitaya/www/apps/
Replace rp-xxxxxx with your Red Pitaya’s MAC address suffix and adjust the source path to your application location.
Using WinSCP (Windows)
Open WinSCP and connect to your Red Pitaya
Navigate to /opt/redpitaya/www/apps/
Drag and drop your application folder from your computer to the remote directory
Verification
After installation, verify your application:
Open a web browser
Navigate to your Red Pitaya’s IP address or rp-xxxxxx.local
Your application should appear in the main application menu
Click on the application icon to launch it
If the application doesn’t appear, check:
The application folder name (must be unique and contain no spaces)
The info/info.json file exists and is valid JSON
The info/icon.png file exists
File permissions are correct (should match other applications)
Troubleshooting
Application appears but fails to load
Compile the backend:
If your application has C/C++ backend code, it must be compiled on Red Pitaya:
$ ssh root@rp-xxxxxx.local
$ cd /opt/redpitaya/www/apps/your_app
$ make INSTALL_DIR=/opt/redpitaya
Check file permissions:
Ensure files are readable:
$ chmod -R 755 /opt/redpitaya/www/apps/your_app
Backend fails to load
Check Nginx logs for errors:
$ tail -f /var/log/nginx/error.log
Common issues:
Missing library dependencies
Incorrect function signatures in controller code
FPGA image not loaded correctly
Best Practices
Development workflow
Test locally first - If possible, test your application structure before deploying
Use version control - Keep your application in Git for tracking changes
Backup - Keep a copy of working applications before making major changes
Document dependencies - Note any special libraries or FPGA images required
Deployment checklist
Before deploying to multiple devices:
Test on a development Red Pitaya first
Verify all files are included
Check that the application works after a reboot
Document any OS version requirements
Test with different browsers if applicable