2.10. Red Pitaya Acrylic Case Assembly
Whether you purchased your Red Pitaya acrylic case in a kit or as a separate add-on, manual assembly is required.
2.10.1. Components
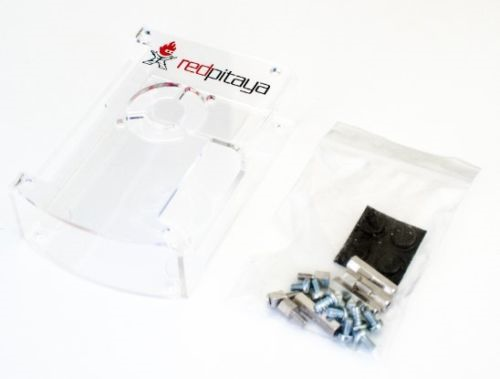
Figure 2.6 Components of the Red Pitaya acrylic case.
Contents:
8 screws to close the case.
4 long brass spacers and 4 short ones to hold the board in place.
4 rubber feet for secure positioning on the desk.
2.10.2. Compatibility
The acrylic case is compatible with the following Red Pitaya models:
STEMlab 125-14 Gen 2 (also PRO and PRO Z7020)
STEMlab 125-14 TI
STEMlab 65-16 TI
STEMlab 125-14 (all board models)
STEMlab 122-16
STEMlab 125-14 4-Input
STEMlab 125-10
2.10.3. Assembly Instructions
Remove the small, white plastic feet by pressing the clips on the top with a small pair of pliers and pushing the feet down.
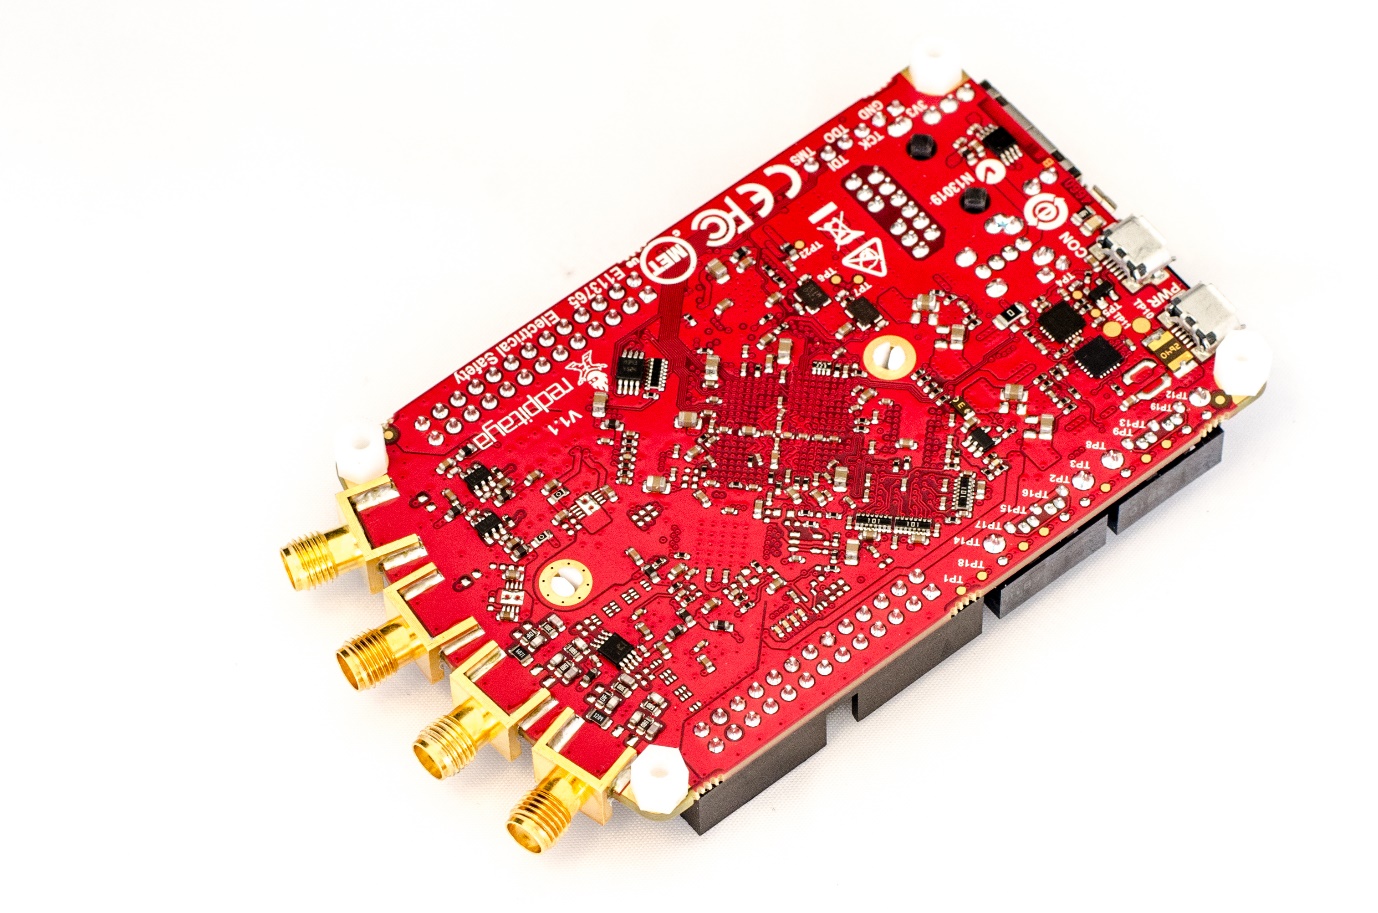
The bottom of the Red Pitaya board shows the plastic feet.
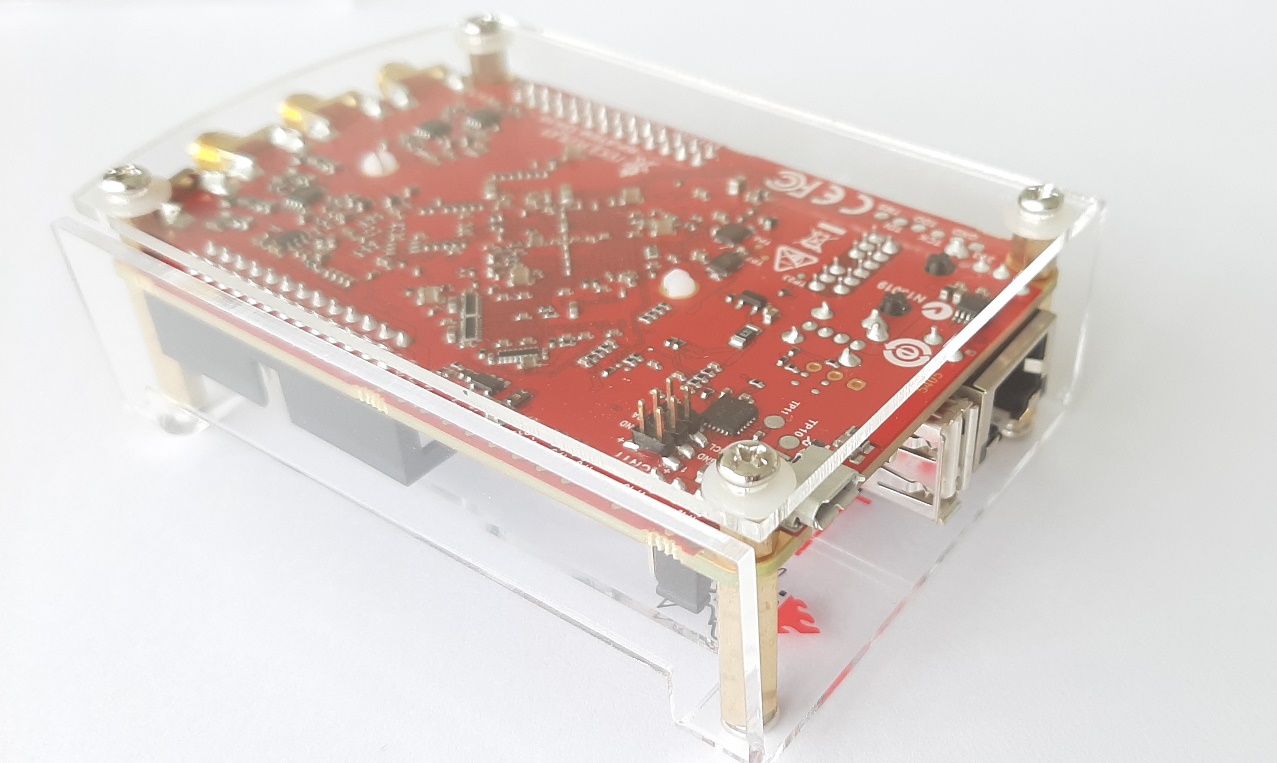
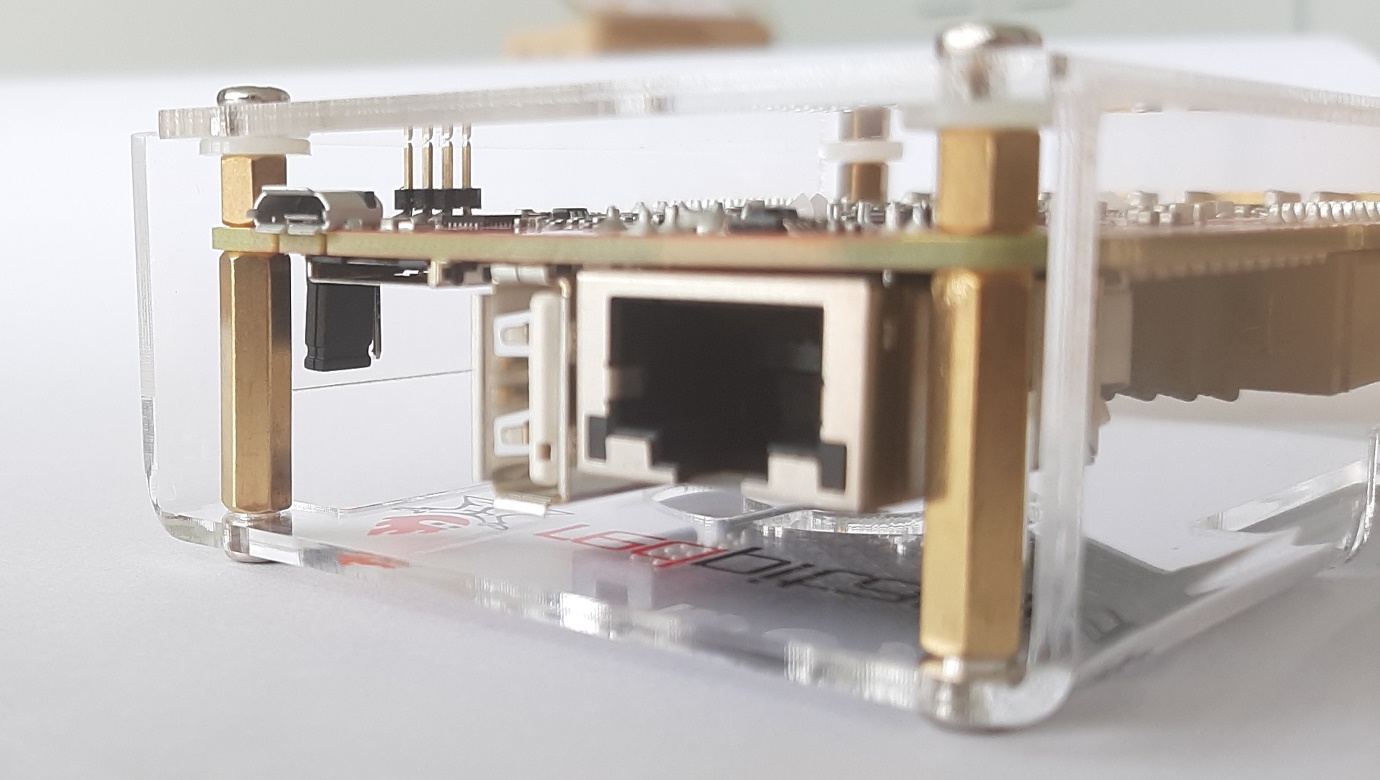
Fit the brass spacers as shown in the picture below:
If you have a model with a 6-pin connector, please use the white plastic washers supplied.
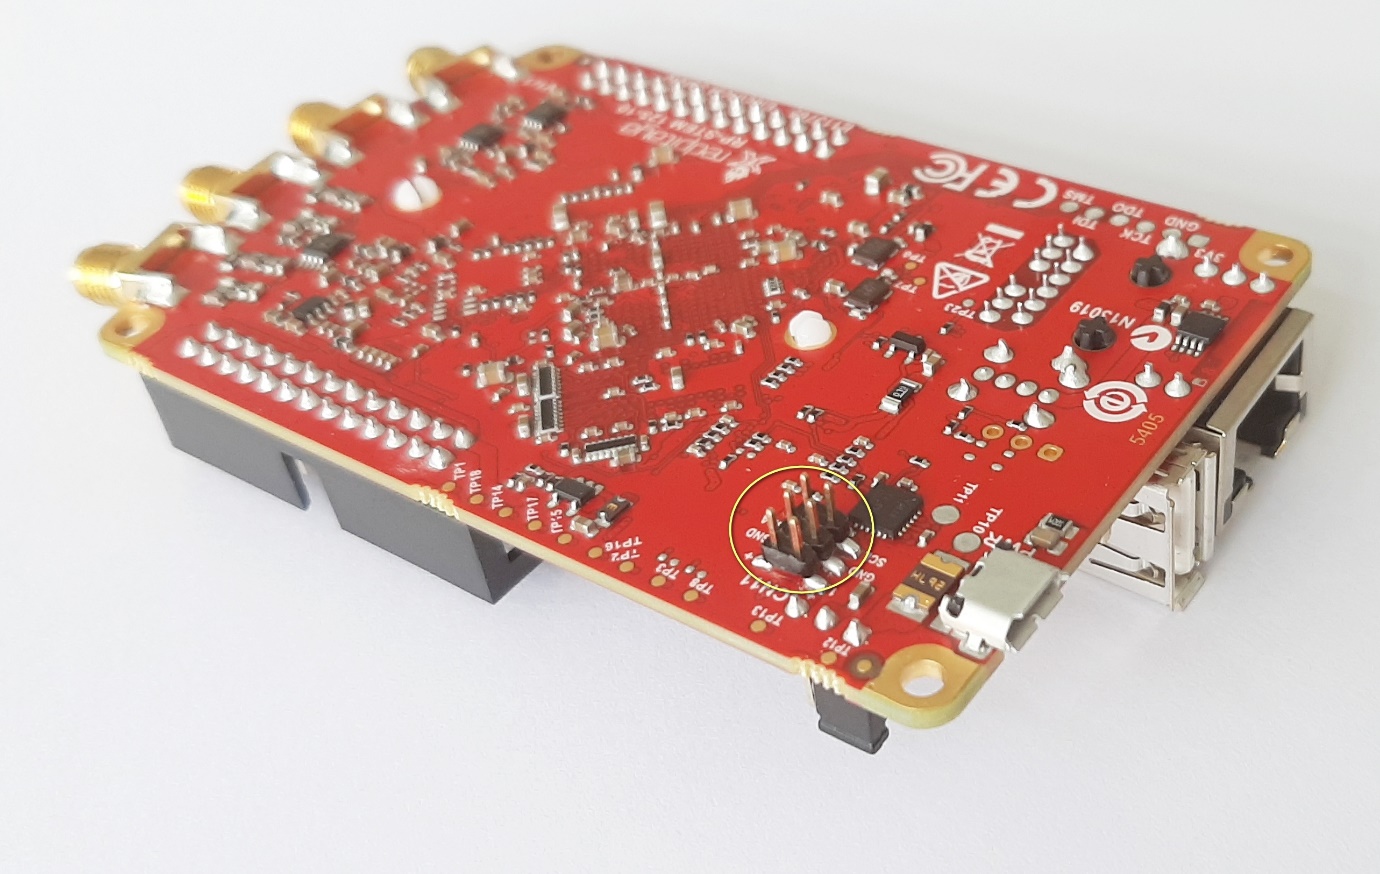
The lower part of the Red Pitaya PCB with the 6-pin connector CN11.
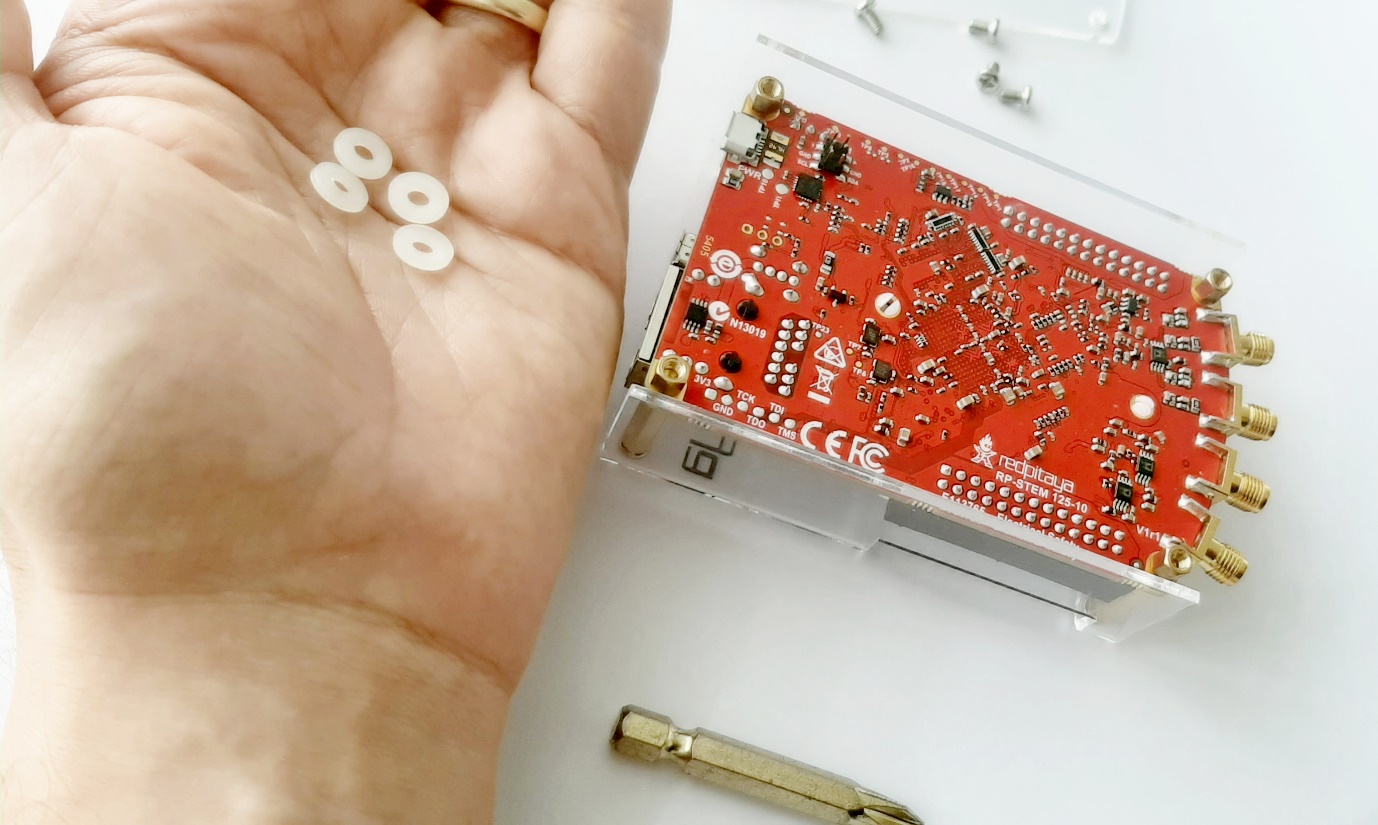
If the CN11 connector is present, use the plastic washers supplied when fitting the base.
Red Pitaya shows the use of white plastic washers for 6 pin connector CN11 clearance.
Insert the rubber feet.