Installation of Vivado 2020.1
This installation tutorial is intended for anyone who wants to use the FPGA of the Red Pitaya board.
Requirements
You need one of the following on your computer or virtual machine:
Ubuntu 18.04/20.04/22.04/24.04
Linux Mint OS
Windows with:
Archive extract utility (for example, Winrar or 7zip)
Windows Subsystem for Linux (recommended)
make utility (recommended)
Vivado supports both Linux and Windows operating systems, but since we are installing an older version of Vivado the installation process is slightly different for each. This tutorial will cover the installation process for both operating systems and the differences in installation process. MAC users should use a virtual machine with one of the supported operating systems.
Windows users can benefit from using the Windows Subsystem for Linux (WSL) as it is useful for interacting with Red Pitaya and getting access to the information from serial console, but it is not required for programming the FPGA. Additionally, having access to the make utility will simplify the FPGA project build process. For installation instructions, see:
Note
Why not use an up-to-date Vivado Version?
The reason is quite simple actually, the automatic project build scripts are written for Vivado version 2020.1 and will not work with newer versions. It is possible to use newer version of Vivado, but you will have to manually create a new project and add all the files, which is not recommended for beginners.
Getting a WebPACK licence
Regardless of the operating system we use, we will need to obtain the free ISE WebPACK licence. Let’s get this out of the way first.
Go to the AMD Xilinx License Form.
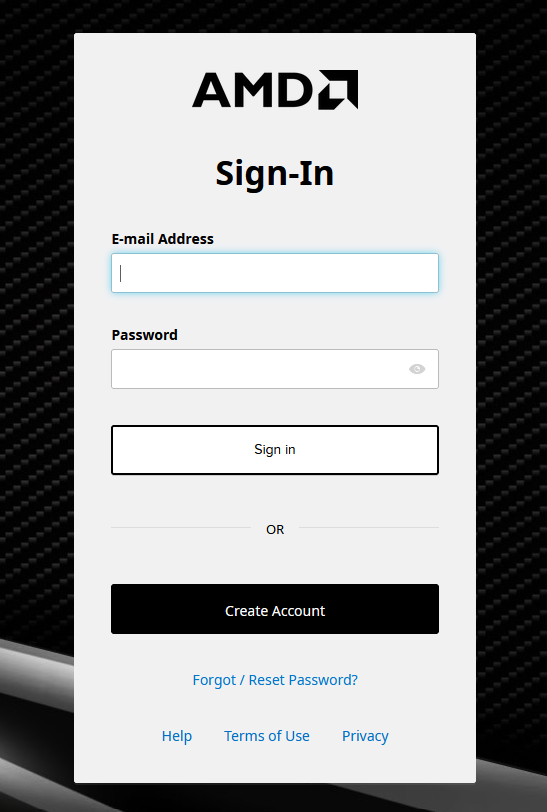
Sign in with your AMD account. If you don’t have an AMD account, you will have to create one. It’s free.
Fill out the form with your information. Make sure to select Vivado WebPACK as the licence type. Click Submit.
The licence file will be sent to your registered e-mail address. Save the .lic file to a safe location, as we will need it later.
Download Vivado 2020.1
Head to AMD’s downloads webpage.
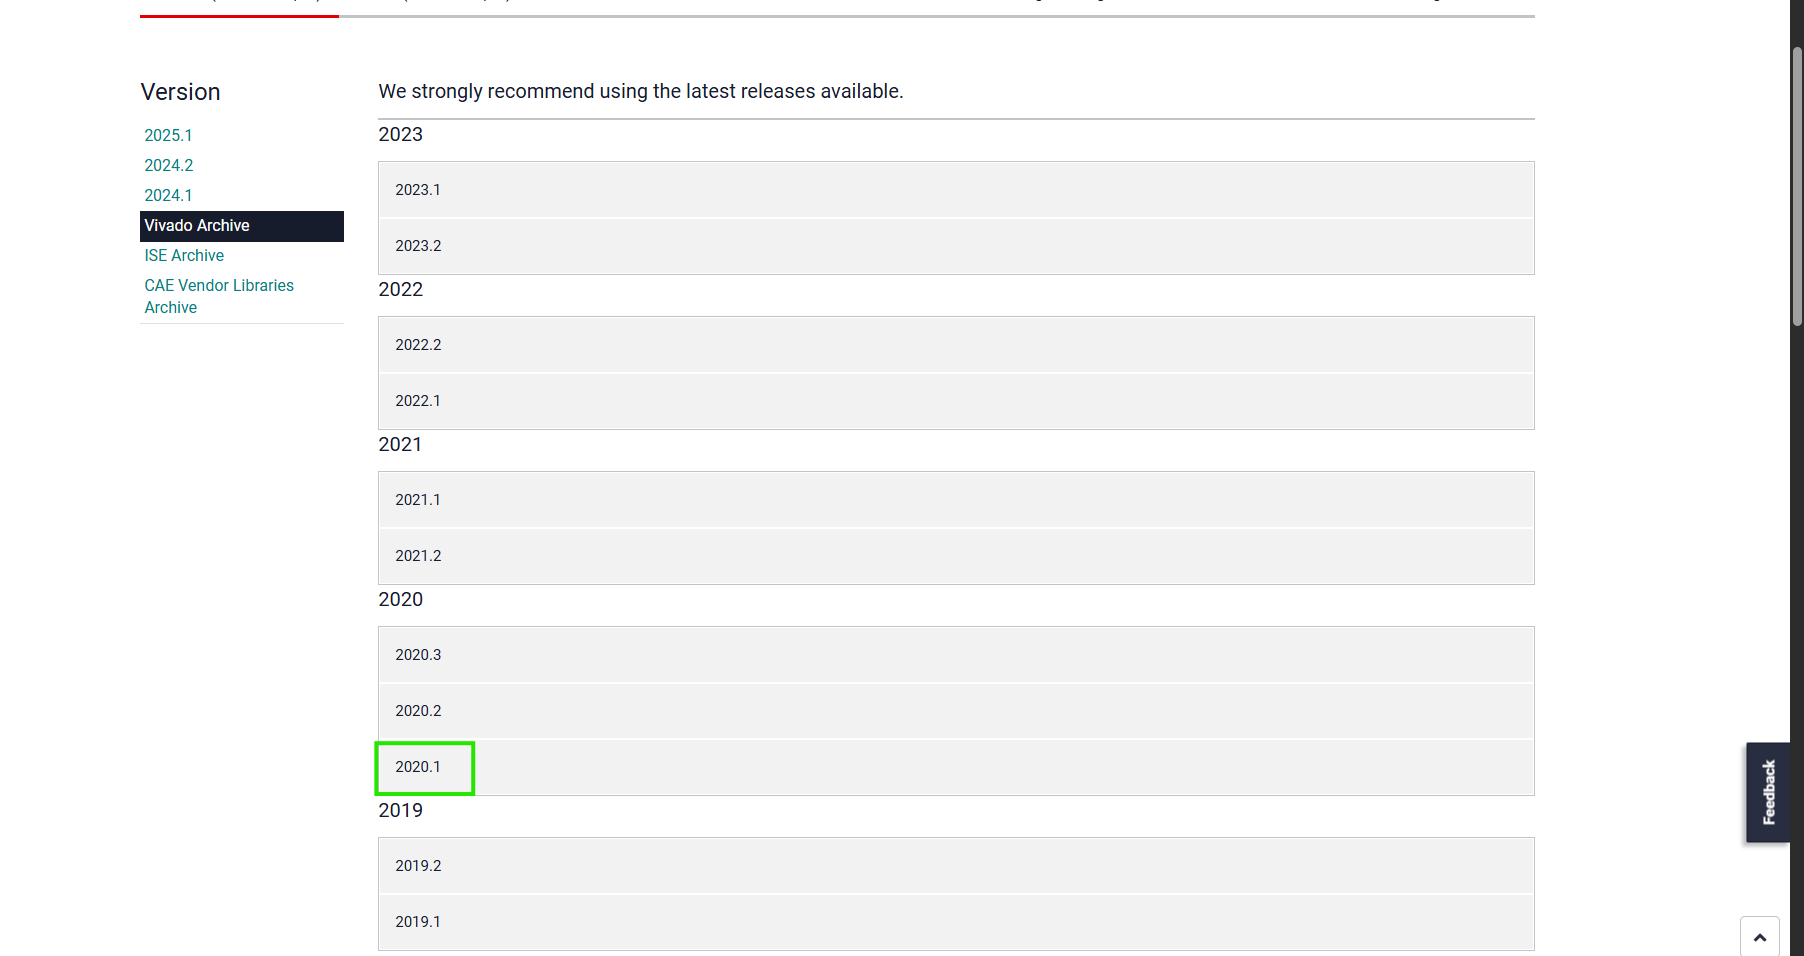
Go to Vivado Archive and select the 2020.1 option.

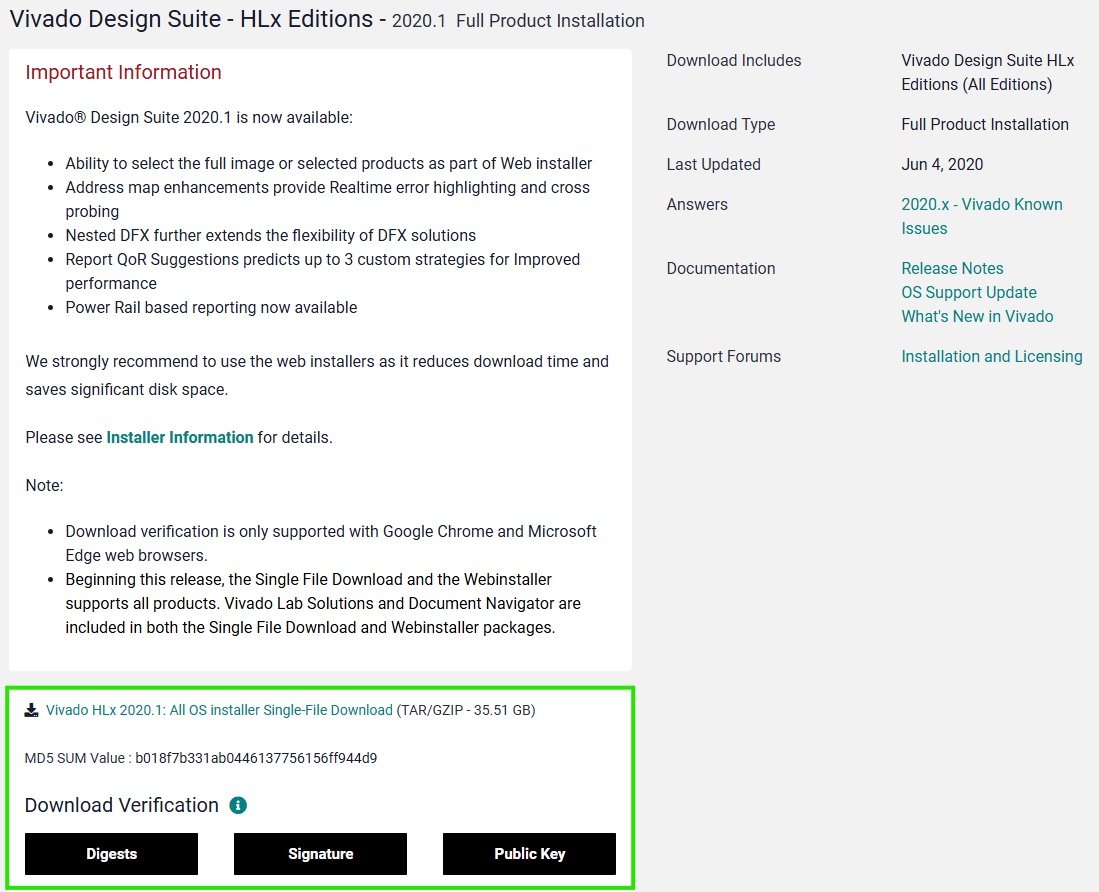
In the 2020.1 dropdown menu, scroll down until you see the “Vivado Design Suite - HLx Editions - 2020.1 Full Product Installation” (just after the first download link).
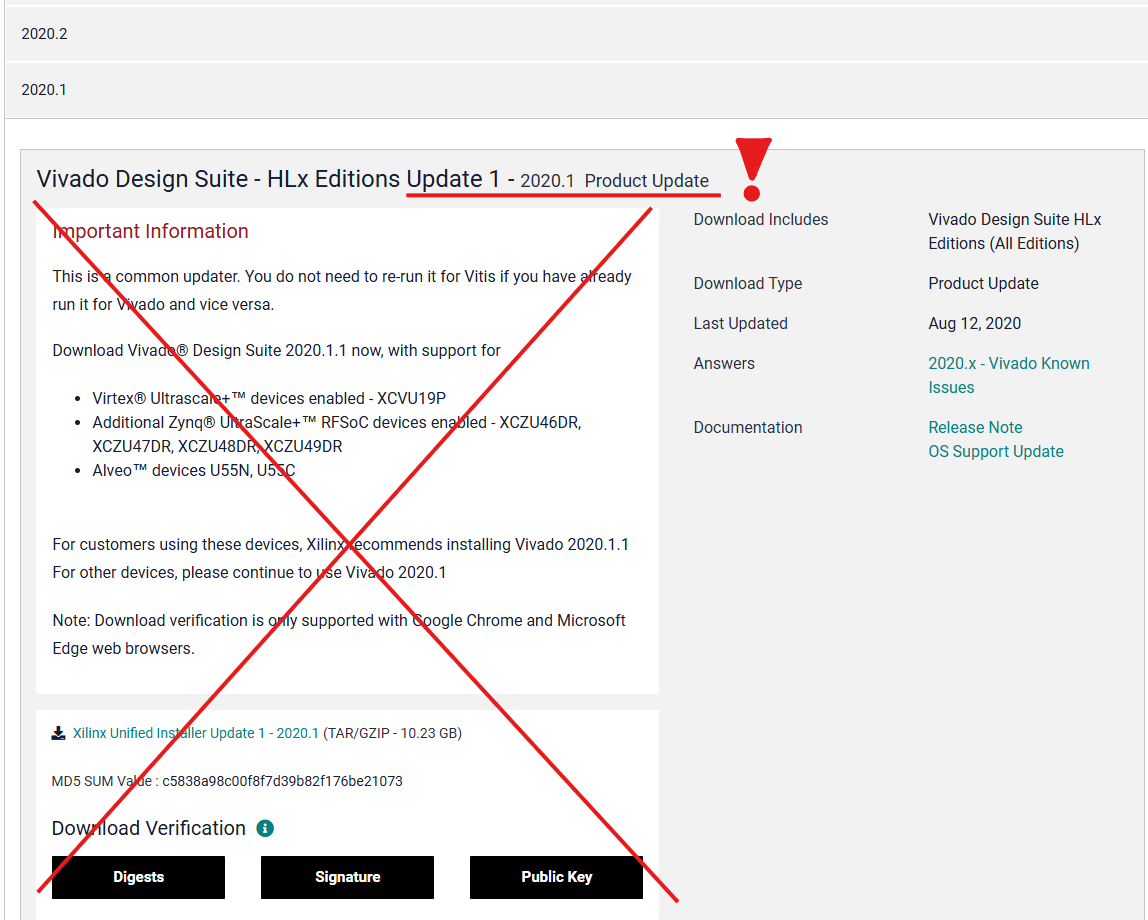
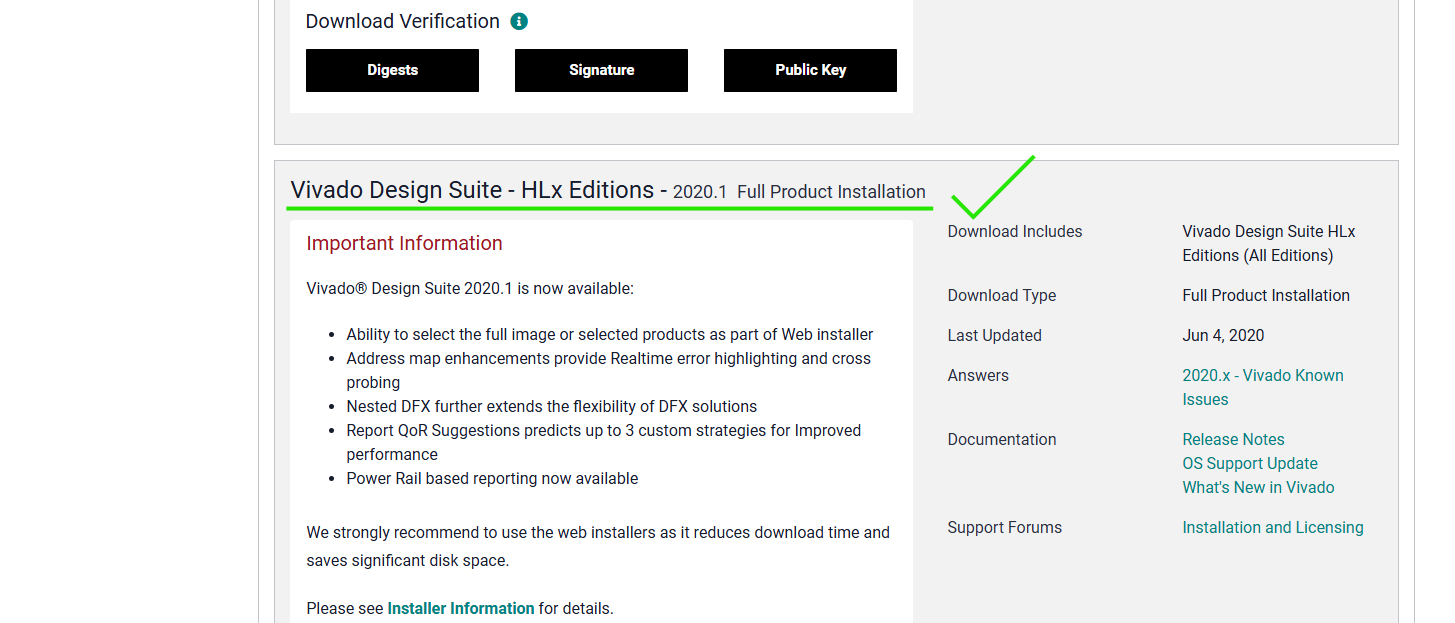
There are three download links. Use the Vivado HLx 2020.1: All OS installer Single-File Download (TAR/GZIP - 35.51 GB) as Windows and Linux self extracting Web Installers do not work since Xilinx was acquired by AMD.
After clicking on the link, you will be asked to sign in. Use your AMD username and password. If you don’t have an AMD account, you will have to create one. It’s free.
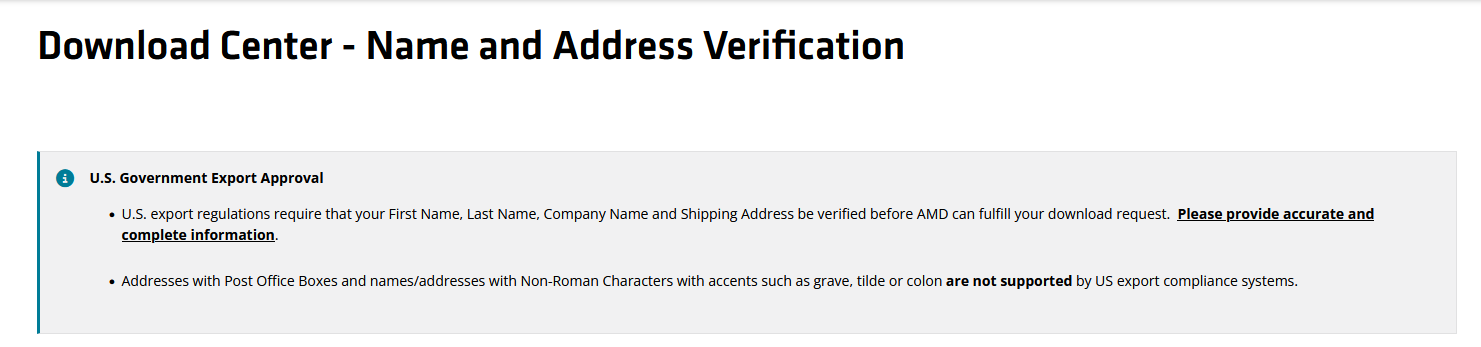
You will be redirected to the download centre, where you input your information and click on the “DOWNLOAD” button at the bottom of the page to start the download. Please note that this is a 35 GB file so depending on your internet connection it might take a while.
Extract the .tar.gz file using your preffered method.
At this point you should have an extracted Vivado 2020.1 installation directory. Now we will focus on the installation process for each operating system.
Installing Vivado 2020.1
The installation process differs slightly between Windows and Linux.
Windows
Windows installation is quite straightforward. You just have to run the installer and follow the instructions.
Extract the .tar.gz file using 7zip or WinRAR.
Double-click the xsetup.exe file to start the installation process.
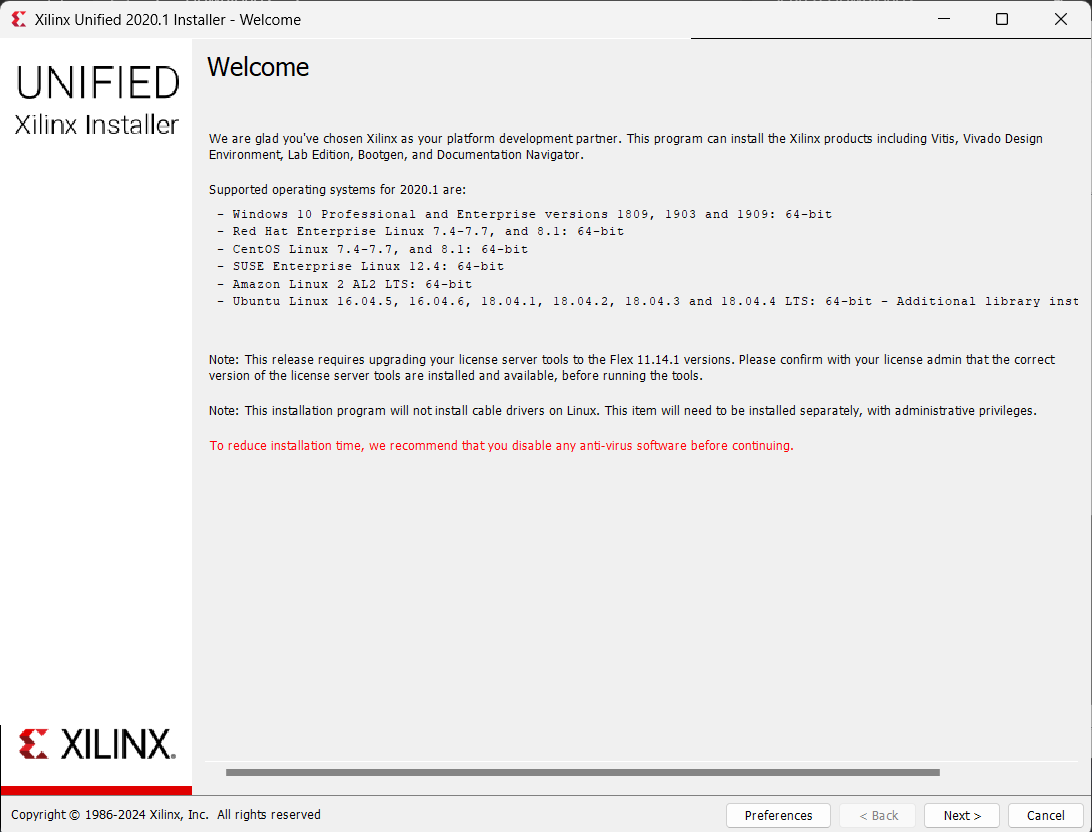
Once the installer starts, you will see two pop-up windows informing you that the installer was unable to access the servers. Close both of them.
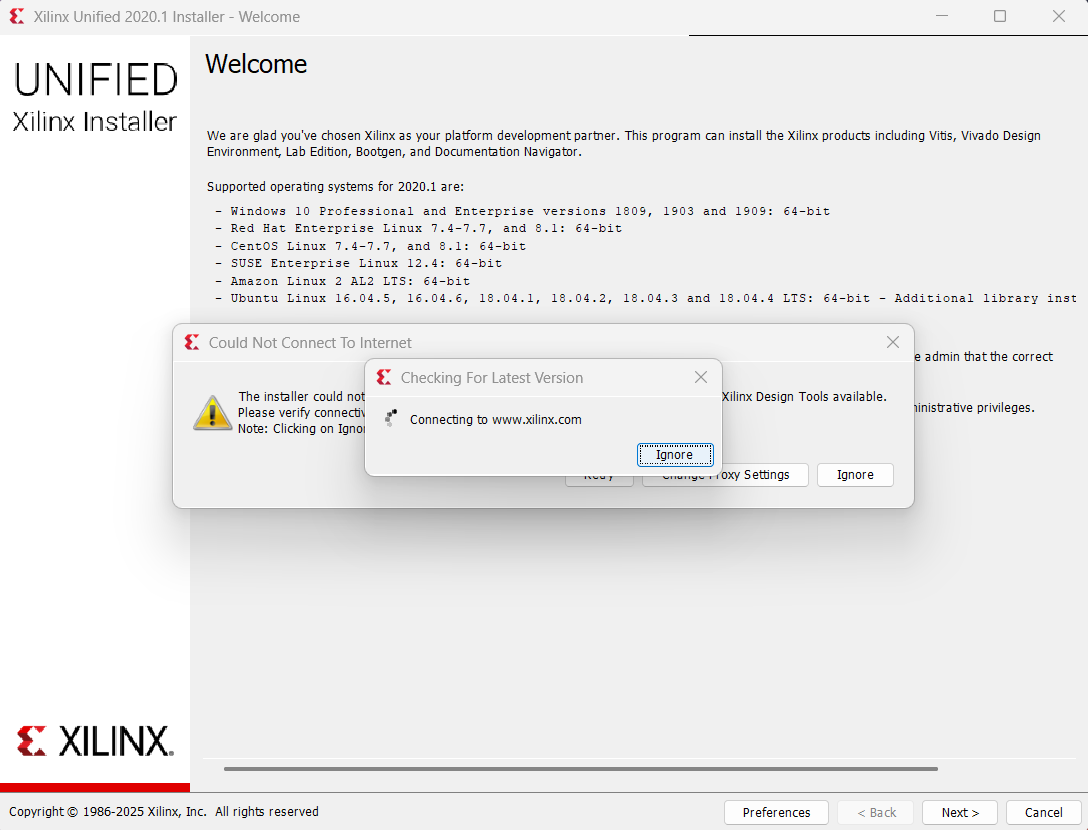
The first screen shows the installation requirements. If we look closely, it states that only Windows 10 is supported, but the installation will also work on Windows 11. Click Next to continue.
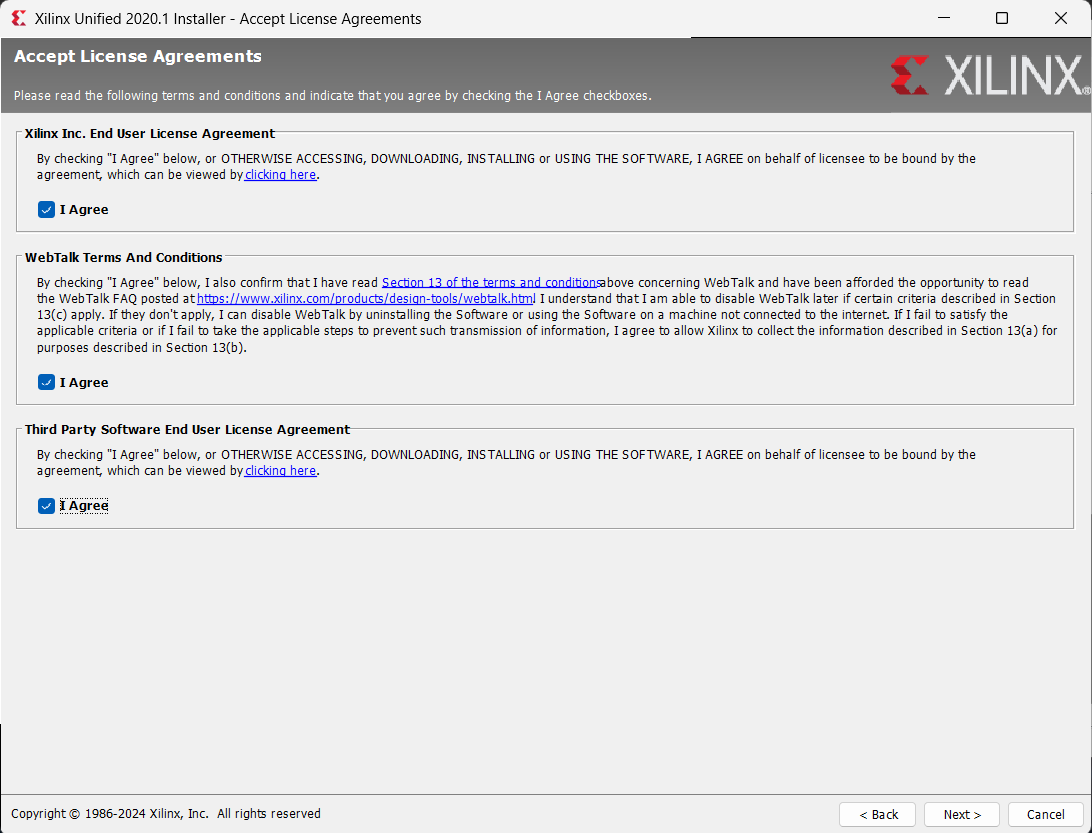
Check all the license agreement boxes and click Next.
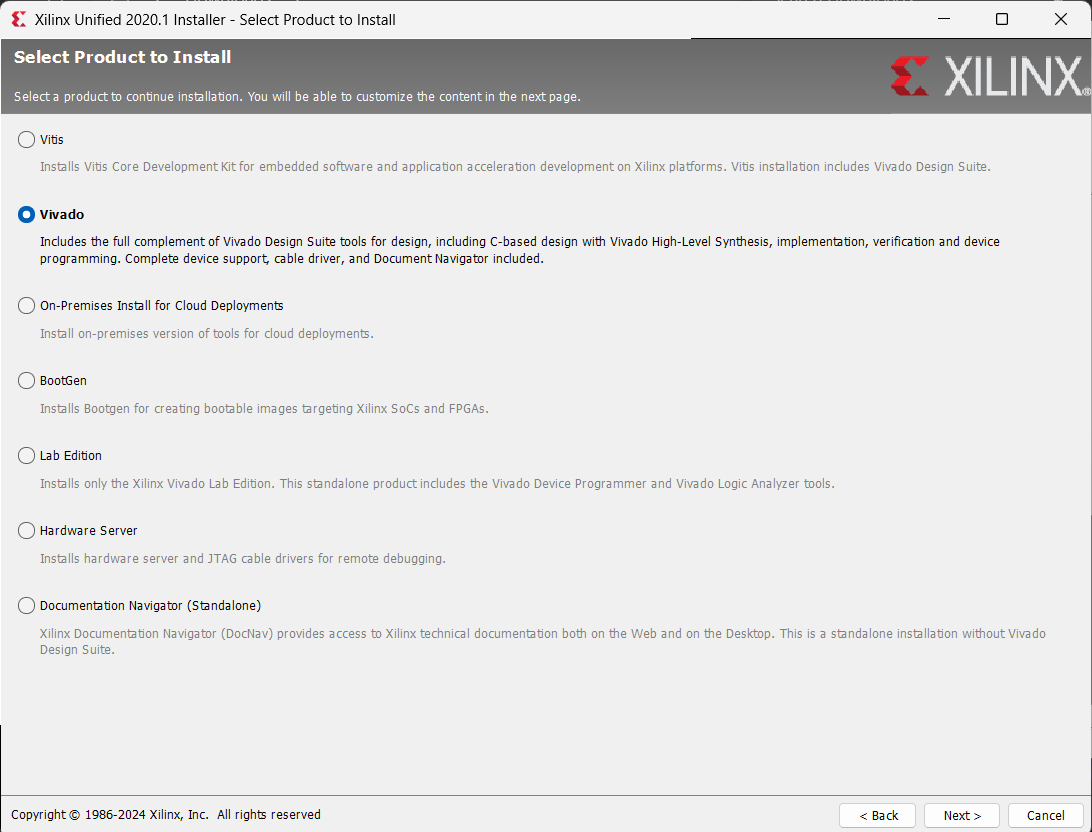
Select Vivado as we will only be installing the Vivado programming environment and not the whole Vitis. Then click Next.
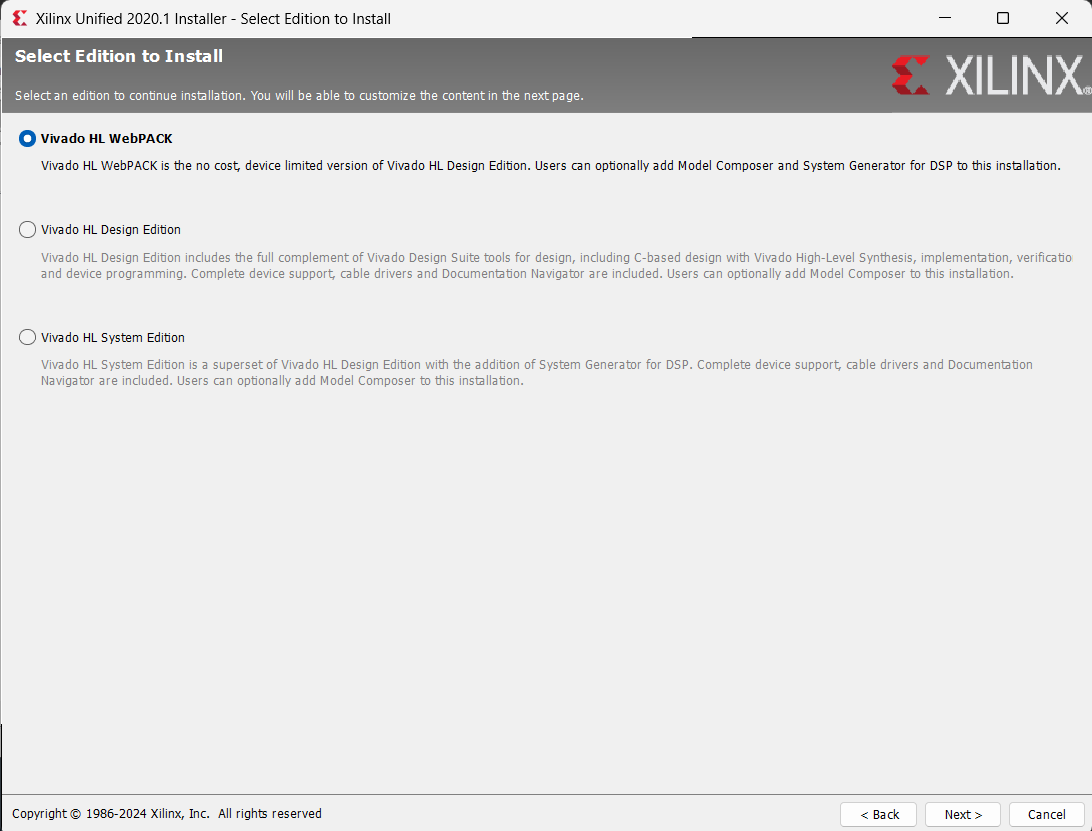
Select Vivado HL WebPACK as we will be using the free version of Vivado. Click Next.
The next screen displays the installation options. Check all the boxes shown in the image below. Click Next.

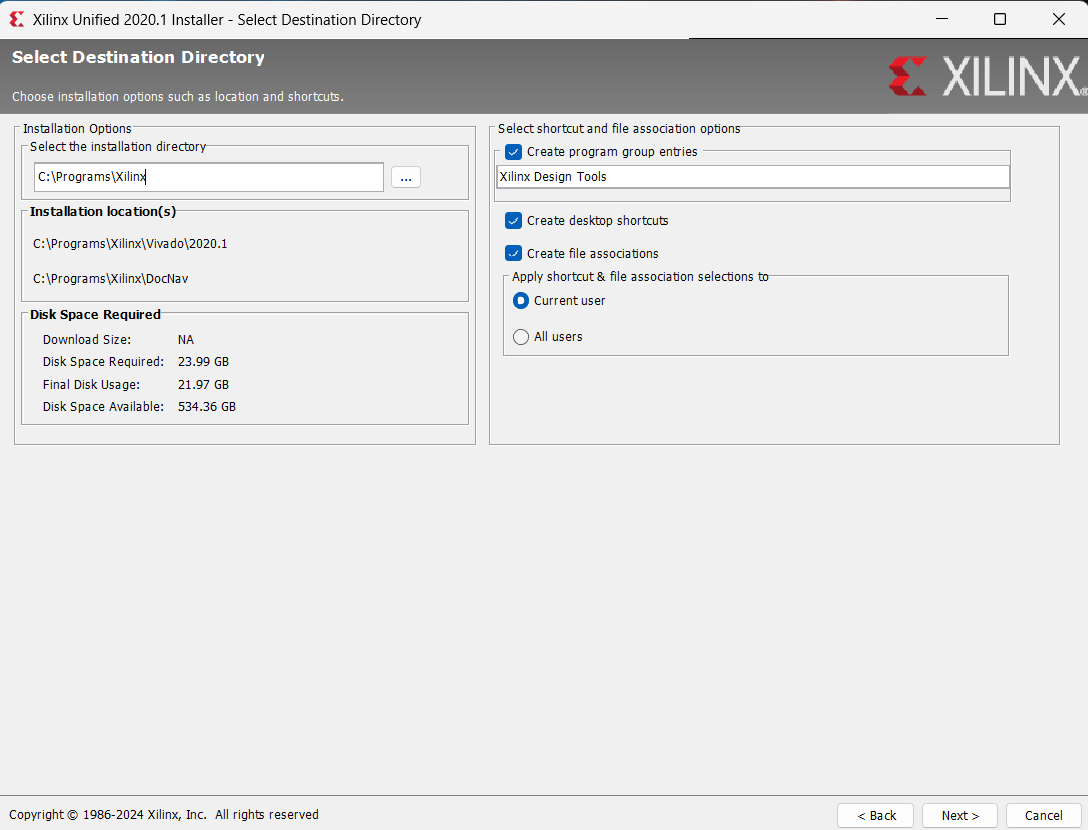
Now we have to select the installation directory. The default installation directory is C:/Xilinx, but we can change it to a different one if necessary. In the picture, we are using the C:/Programs/Xilinx directory. Click Next.
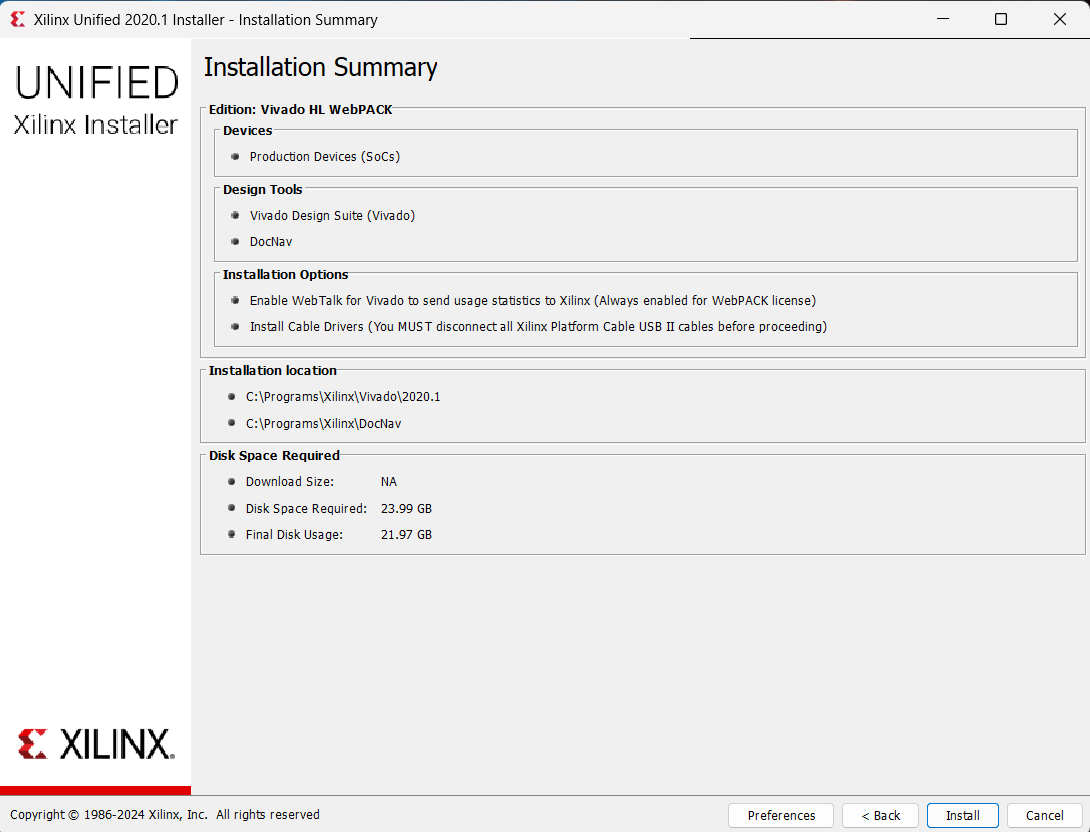
Check the installation summary and click Install to start the installation process.
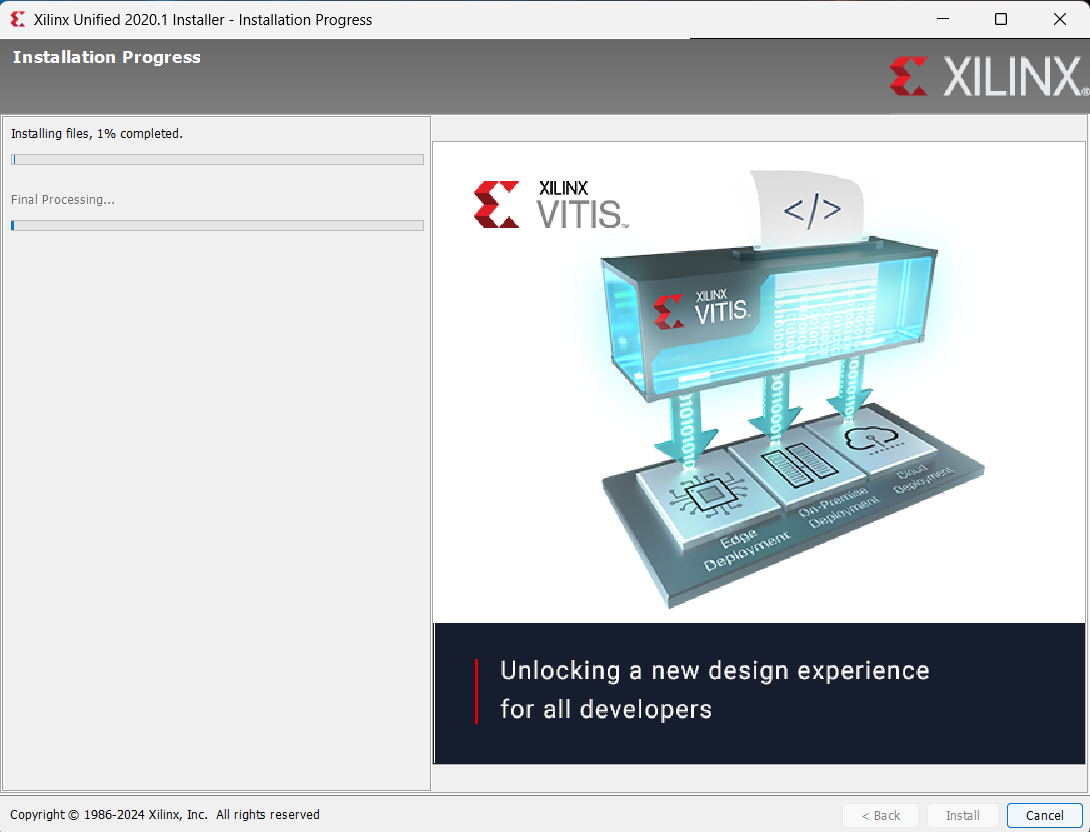
Wait for the installation to finish.
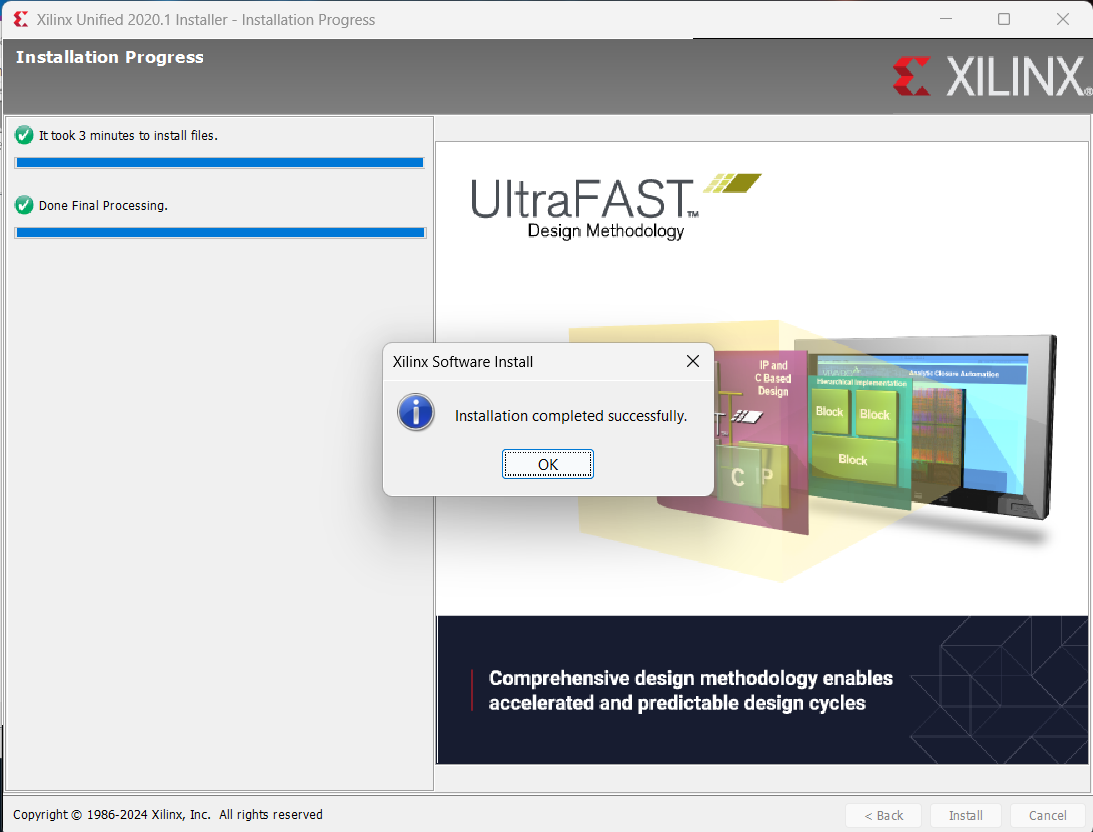
Once the installation is complete, you will see the following screen. Click OK to finish the installation process.
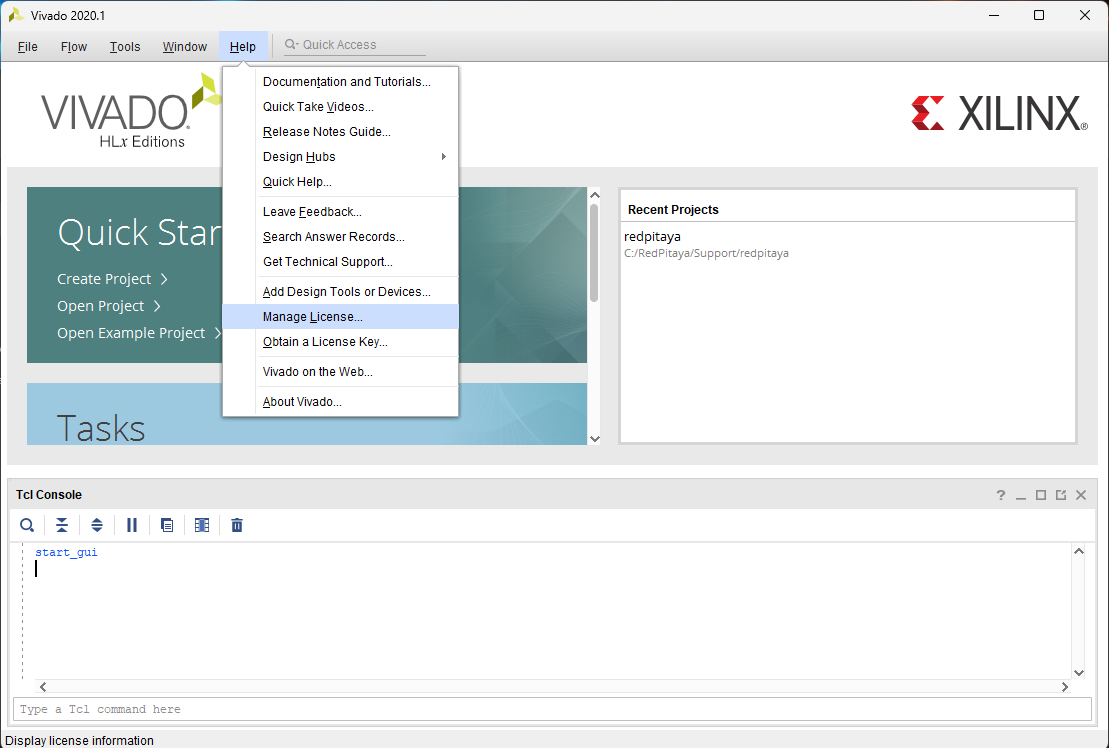
Now we will install the ISE WebPACK licence. This is a free licence that allows us to use the Vivado programming environment. Here is how to open the License Manager from Vivado.
Click on the Load license button in the License Manager window.
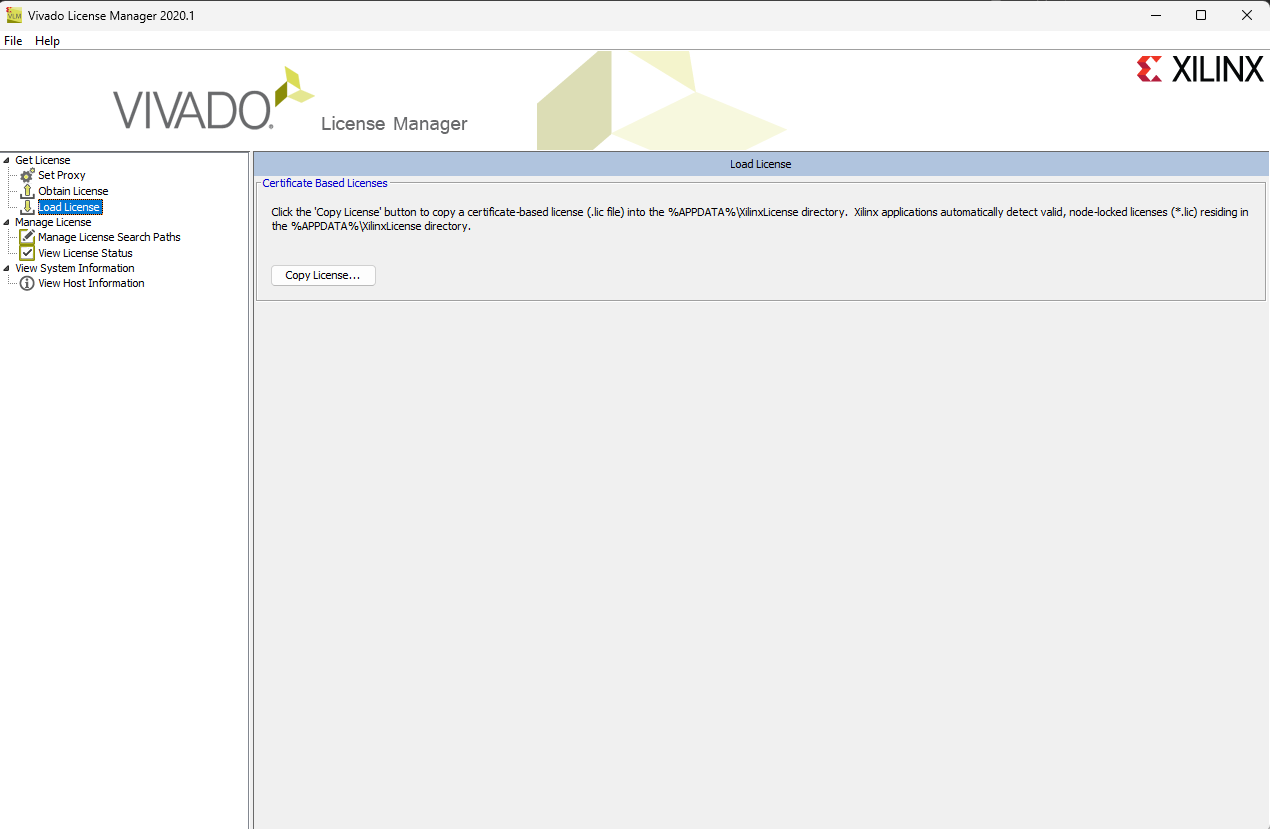
Click on the Copy License button and navigate to the location where you saved the .lic file you downloaded earlier. Select the file and click Open.
Afterwards, we can check the View License Status window for information on the installed licences. The ISE WebPACK licence should be listed there.

We are now ready to use Vivado 2020.1 on Windows. You can start it by searching for Vivado in the Start menu or by running the vivado.bat file located in the installation directory (for example, C:/Programs/Xilinx/Vivado/2020.1/bin/vivado.bat).
Linux
The Linux installation process is a bit more complicated than the Windows one, but it is still quite straightforward. Here are the steps to install Vivado 2020.1 on Linux:
First, navigate to the directory where you downloaded the .tar.gz file and extract it.
tar -xvzf <file-name>.tar.gz
Then, make the resulting file executable and run it.
chmod +x ./Xilinx_Unified_2020.1_0602_1208_Lin64.bin
sudo ./Xilinx_Unified_2020.1_0602_1208_Lin64.bin
Since Vivado 2020.1 is not supported on Ubuntu versions 20.04 and higher, a warning will pop up during the installation process and prevent the installation from proceeding.
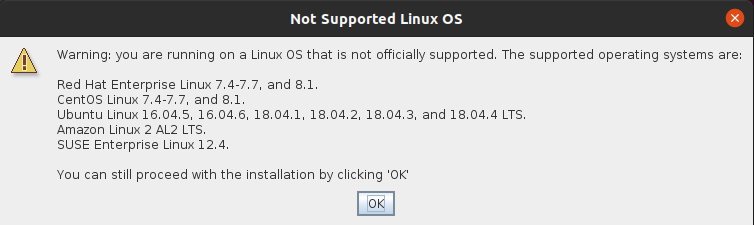
The installer window will also glitch and disappear after you click OK - forcing you to press Ctrl+C in the terminal to force quit the installation process.

To avoid this, we will “fake” our OS version for the duration of the installation process. Locate the os-release file in the /etc directory. Open the file as the super user with a text editor (for example, nano):
sudo nano /etc/os-release
Make a note of the VERSION line (for Ubuntu 20.04, it should be VERSION=”20.04.6 LTS (Focal Fossa)”). Then, change the VERSION line to:
VERSION="18.04.4 LTS (Bionic Beaver)"
Save the file (DO NOT forget to change it back once the installation is complete).
Quick reference version lines for different Ubuntu versions (please use the Ubuntu release guide as a reference):
Ubuntu 18.04 - VERSION=”18.04.6 LTS (Bionic Beaver)”
Ubuntu 20.04 - VERSION=”20.04.6 LTS (Focal Fossa)”
Ubuntu 22.04 - VERSION=”22.04.5 LTS (Jammy Jellyfish)”
Ubuntu 24.04 - VERSION=”24.04.3 LTS (Noble Numbat)”
The edited file should look like this:

Note
If Ubuntu installs packages while the OS version is “faked”, this may cause system issues. To fix this, try to execute the following command:
sudo apt-get install --reinstall base-files
Restart the installation process.
sudo ./Xilinx_Unified_2020.1_0602_1208_Lin64.binOnce the installer starts, you will see two pop-up windows informing you that the installer was unable to access the servers. Close both of them.
The first screen shows the installation requirements. If we look closely, it states that only Windows 10 is supported, but the installation will also work on Windows 11. Click Next to continue.
Check all the license agreement boxes and click Next.
Select Vivado as we will only be installing the Vivado programming environment and not the whole Vitis. Then click Next.
Select Vivado HL WebPACK as we will be using the free version of Vivado. Click Next.
The next screen displays the installation options. Check all the boxes shown in the image below. Click Next.
Now we have to select the installation directory. The default installation directory is /opt/Xilinx, but can be changed to a different one if necessary. We will use the default directory. Click Next.
Check the installation summary and click Install to start the installation process.
Wait for the installation to finish.
Once the installation is complete, you will see the following screen. Click OK to finish the installation process.
Revert the VERSION in the in the os-release file back to the original value.
sudo nano /etc/os-release
Quick reference version lines for different Ubuntu versions (please use the Ubuntu release guide as a reference):
Ubuntu 18.04 - VERSION=”18.04.6 LTS (Bionic Beaver)”
Ubuntu 20.04 - VERSION=”20.04.6 LTS (Focal Fossa)”
Ubuntu 22.04 - VERSION=”22.04.5 LTS (Jammy Jellyfish)”
Ubuntu 24.04 - VERSION=”24.04.3 LTS (Noble Numbat)”
Before we start the Vivado IDE, some additional libraries need to be installed. Open a terminal and run the following command:
sudo apt-get install libxft2 libxft2:i386
Note
If you are running a 32-bit system, the libxft2:i386 library will not install (Unable to locate package libxft2:i386). Solution? Install libxft2, which we already did.
Now we will install the ISE WebPACK licence. This is a free licence that allows us to use the Vivado programming environment. Here is how to open the License Manager from Vivado.
Click on the Load license button in the License Manager window.
Click on the Copy License button and navigate to the location where you saved the .lic file you downloaded earlier. Select the file and click Open.
Afterwards, we can check the View License Status window for information on the installed licences. The ISE WebPACK licence should be listed there.
Next, we will add the Vivado settings file to the system path. Open a terminal and run the following command:
echo 'source /opt/Xilinx/Vivado/2020.1/settings64.sh' >> ~/.bashrc
source ~/.bashrc
As the final step, we should check our Language and Region settings on our Ubuntu/Linux computer and make sure we have a Format that uses a dot (“.”) as a decimal separator (the United Kingdom or the United States will work). Vivado demands the use of a dot as the decimal separator, which can lead to problems with Bitstream generation as Vivado will not recognize certain parts of the model.
We are now ready to use Vivado 2020.1 on Linux.