2.5. Prepare SD card
This section contains instructions for installing or updating the Red Pitaya OS on an SD card.
2.5.1. Installation steps
Follow these steps to install the Red Pitaya OS on an SD card:
Download the latest Red Pitaya OS 2.00 image:
Latest Stable (2.07-48)- CHANGELOG (MD5 (extracted): 5d02710fd87a71b4c049ffa5105b69e5).
Note
The 2.00 OS versions work on all Red Pitaya board models.
Write the image to the SD card: Use a disk image writing tool to write the image onto the SD card. We recommend balenaEtcher. Installation instructions:
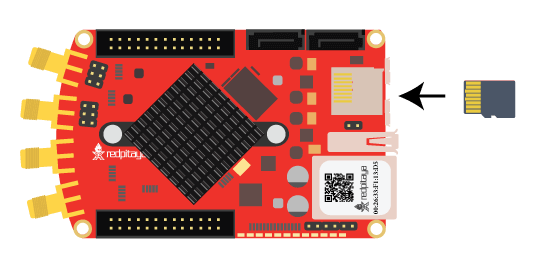
Insert the SD card into the Red Pitaya.
Connect the power supply and Ethernet cable and check the status LED sequence during boot. If you spot any unexpected behaviour, please check the FAQ troubleshooting section.
Connect to the board via the web interface. For more information check the quick start instructions.
When updating between major software releases (for example, from 1.04 to 2.00), reset the calibration parameters to Factory Default (or recalibrate your Red Pitaya).
Note
For older OS versions, nightly builds, command-line installation, and other advanced topics, see the Advanced SD card guide.
Note
To see all options for updating the OS, please refer to the Update Red Pitaya OS section.
2.5.2. Installation instructions for Windows, Linux and macOS
Select your operating system for specific instructions on writing the Red Pitaya OS image to an SD card.
Note
The installation process is the same for all OS versions. We recommend using balenaEtcher as it works on all platforms and is easy to use.
Windows
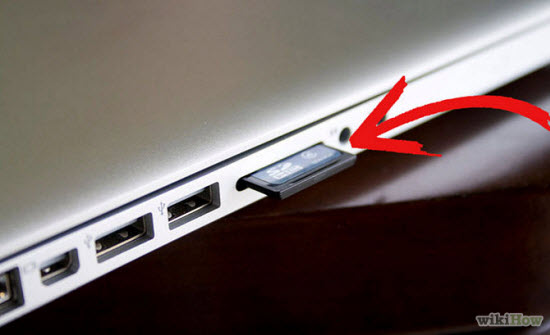
Insert the SD card into your PC or SD card reader.
Download balenaEtcher and install it.
Open the Balena Etcher application.

Flash from file: select the downloaded Red Pitaya image file (Balena Etcher accepts both zipped and unzipped files).
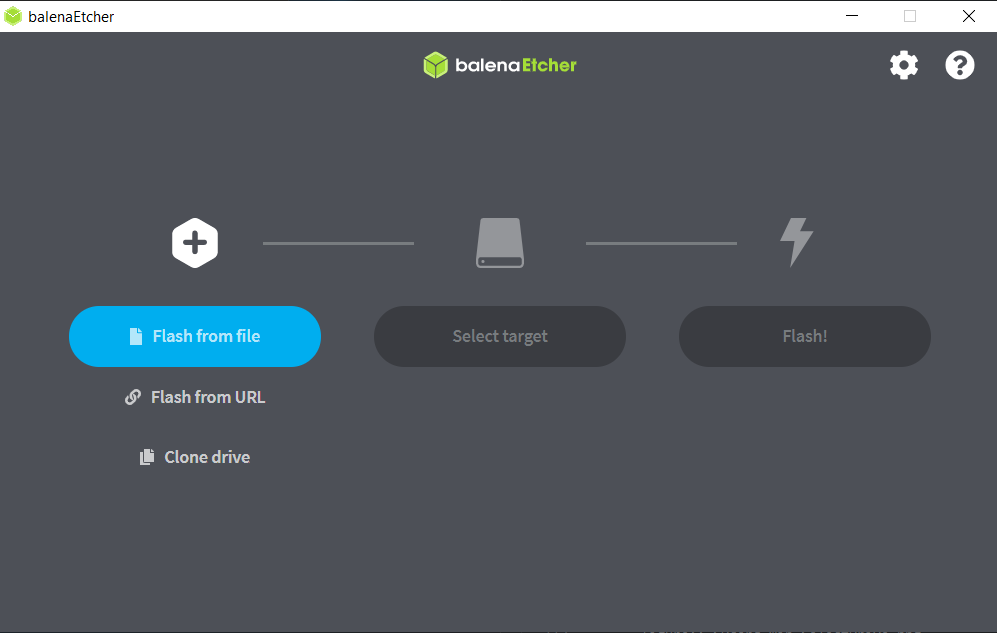
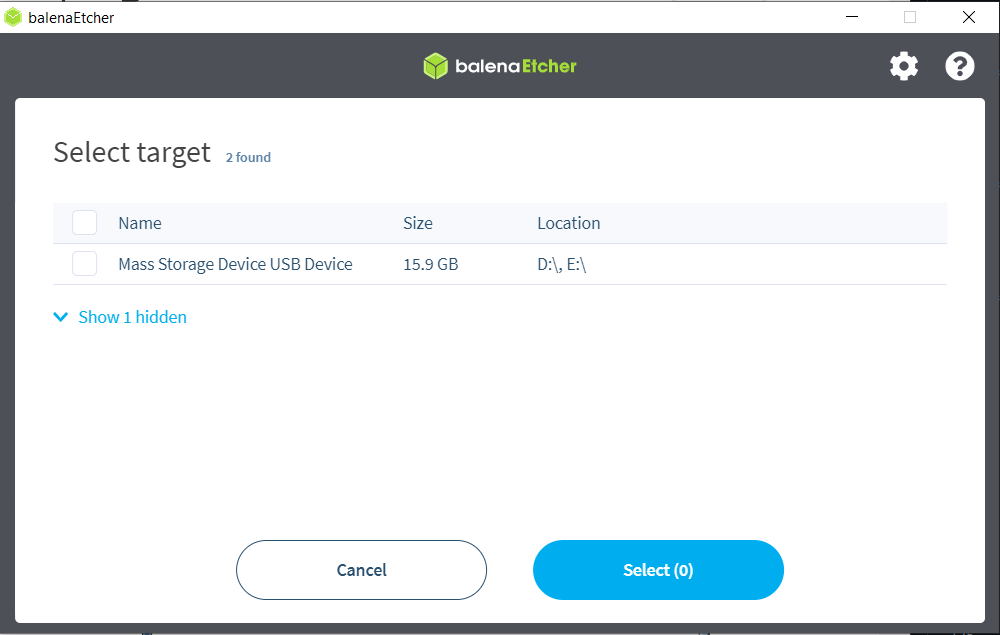
Select target: choose the drive letter of the SD card. Balena Etcher will only show you external drives.

Note
Balena Etcher will only show you external drives, but please be careful to select the correct drive if you have multiple cards or USBs plugged into your computer. If you choose the wrong one, you risk erasing data from the selected drive. You can easily see the drive letter (for example, E:) by looking in the left column of Windows Explorer.
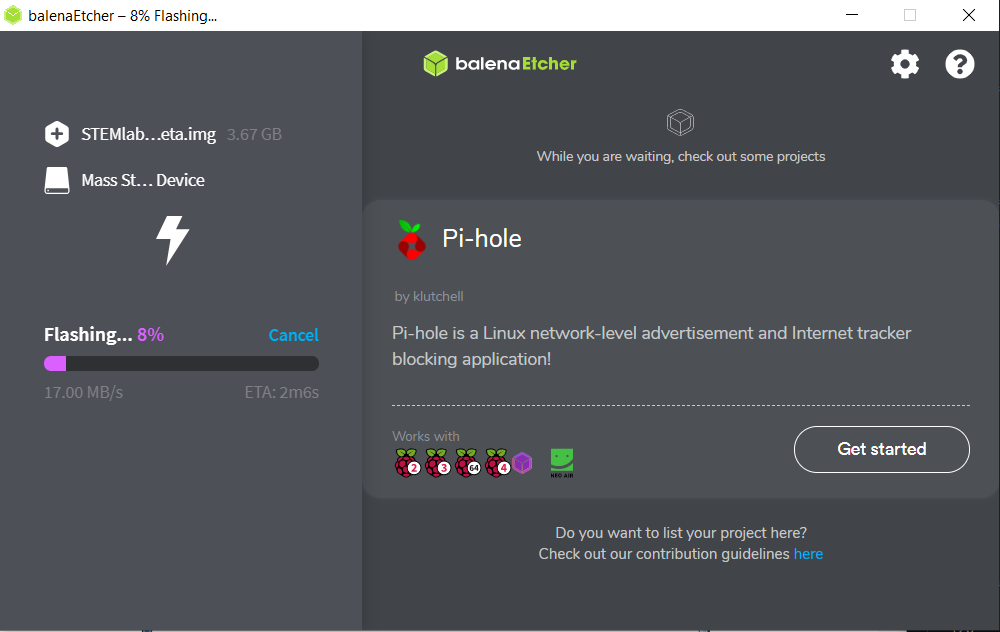
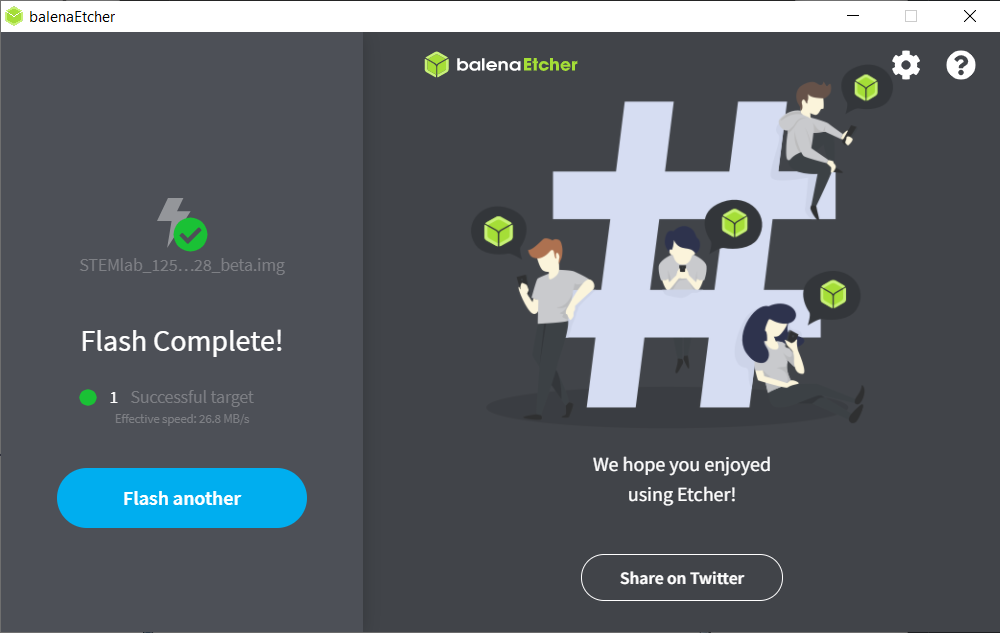
Flash: When you click Flash the computer will prompt you to allow the operation. Click yes and wait for the flashing and validation to be completed.
Close Balena Etcher.
Linux
Note
We recommend using balenaEtcher on Linux. Follow the same instructions as for Windows.
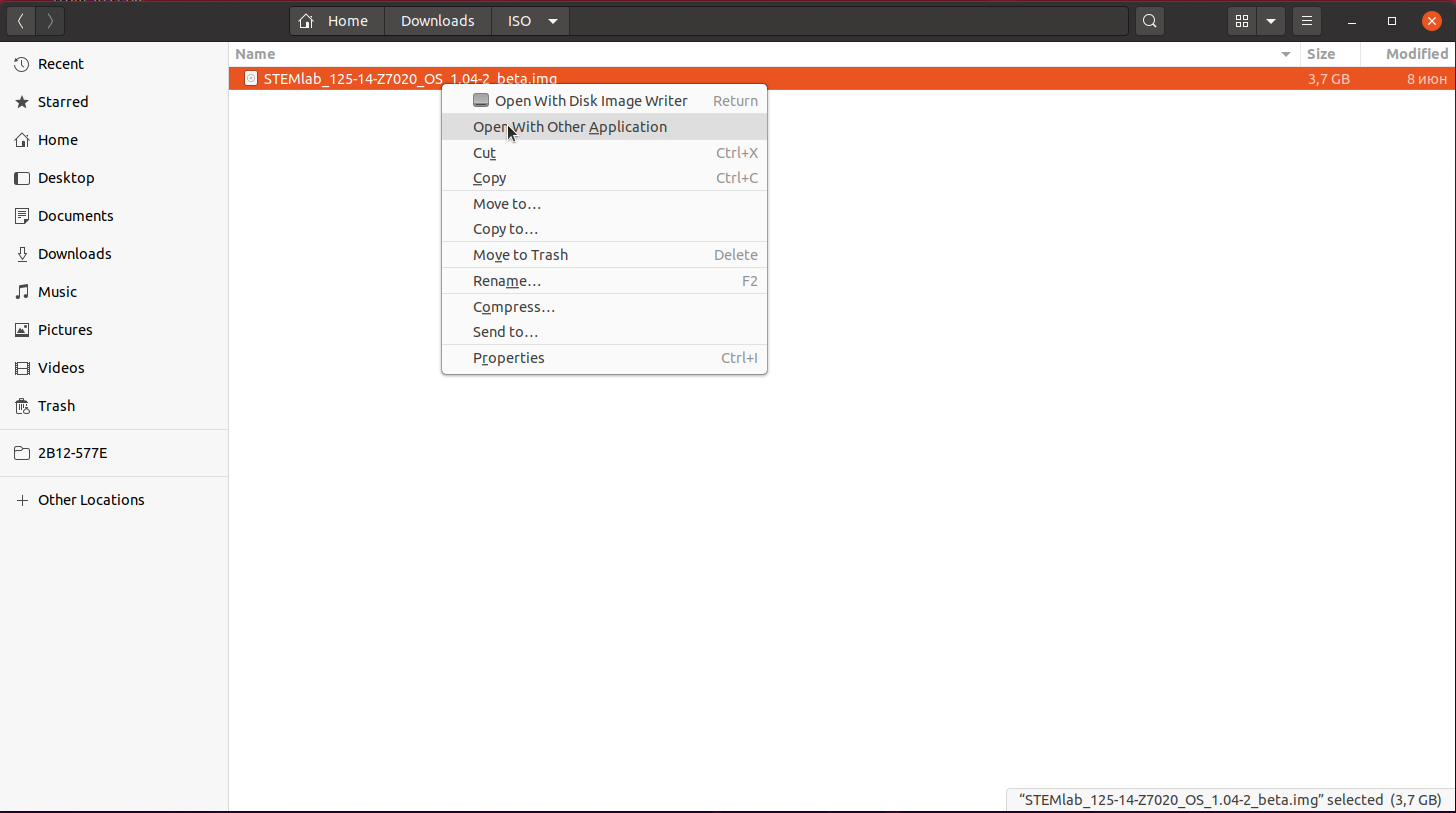
Alternatively, use the built-in Image Writer tool:
Open the extracted SD card image: Right-click on the extracted SD card image and select Open With > Disk Image Writer.
Select the SD card: In the Restore Disk Image window, select your SD card in the Destination pull-down menu.
Note
Be careful to select the correct device; use the size for orientation (for example, a 16 GB SD card).
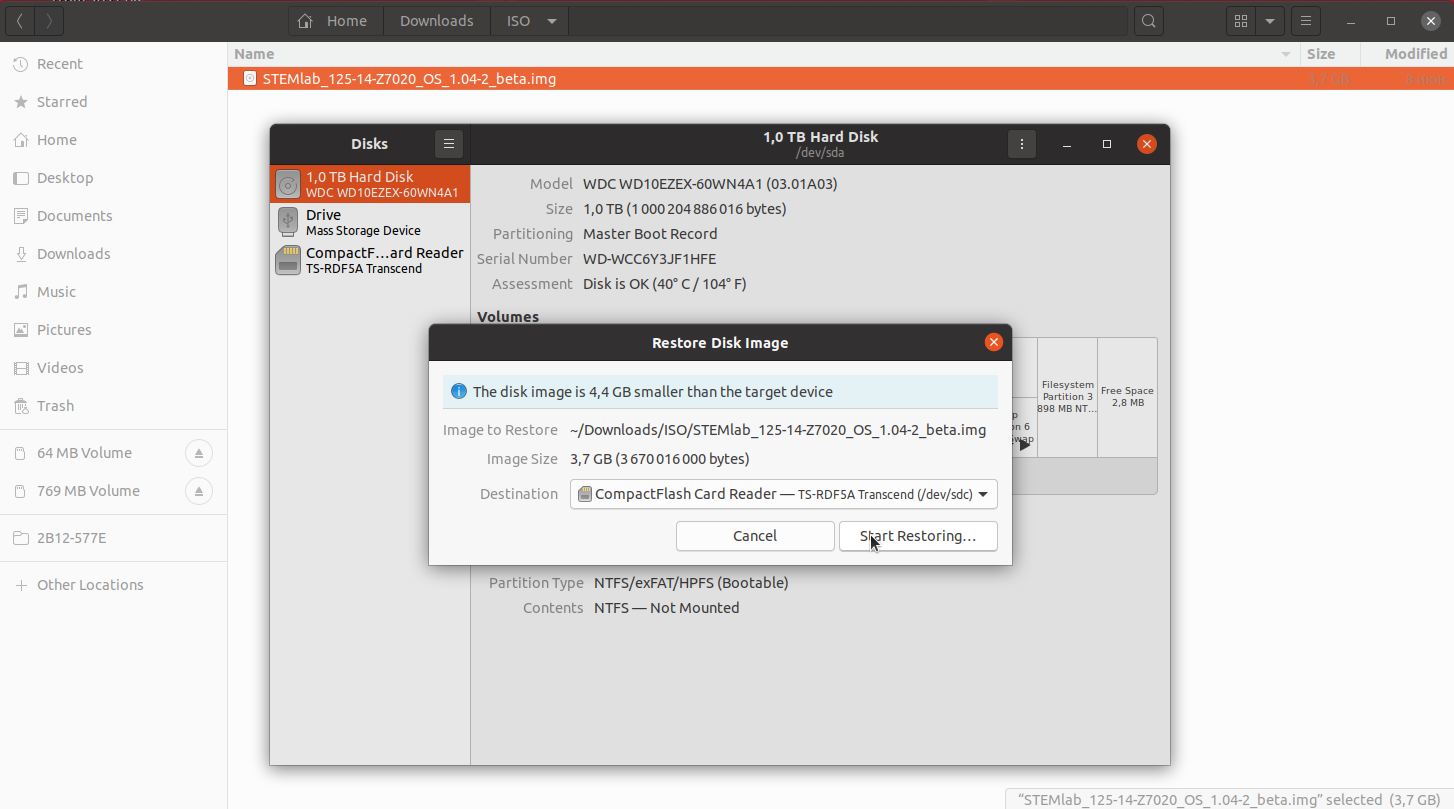
Confirm your choice: You will be asked to confirm your choice and enter a password.
Note
For command-line installation using dd and other advanced options, see the Advanced SD card guide.
macOS
Note
We recommend using balenaEtcher on macOS. Follow the same instructions as for Windows.
Alternatively, use ApplePi-Baker:
Insert the SD card into your PC or SD card reader.
Download ApplePi-Baker.
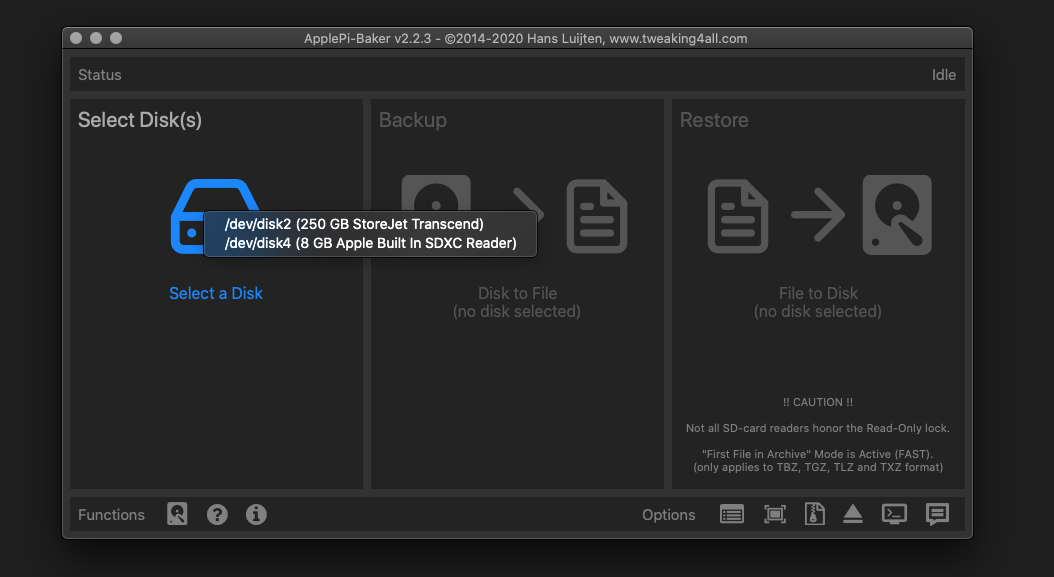
Open ApplePi-Baker and enter your admin password when prompted.
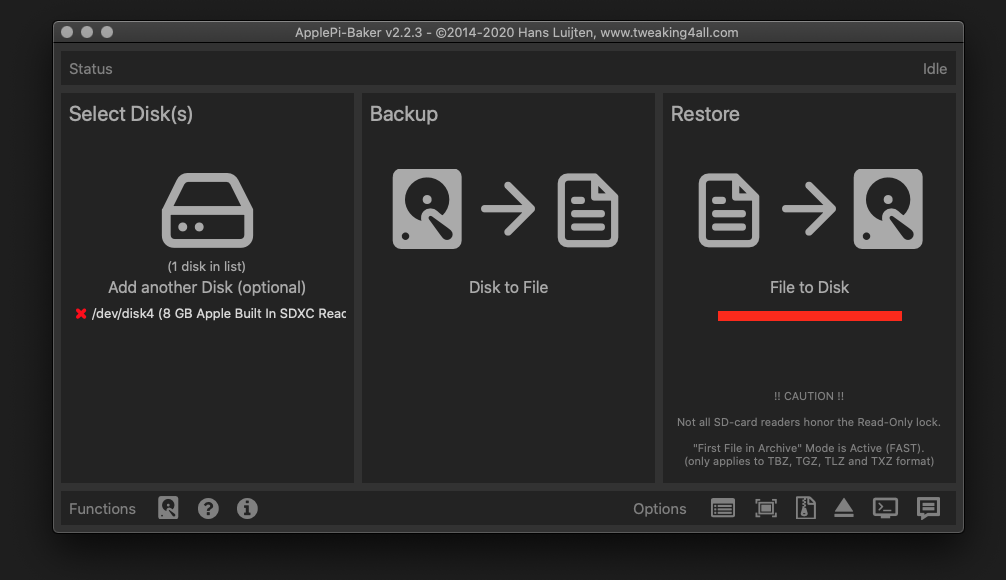
Select the SD card drive by recognizing its size.
Select the Red Pitaya OS image file: select the downloaded Red Pitaya image file and wait for the writing process to complete.
Note
For command-line installation using dd and other advanced options, see the Advanced SD card guide.