2.4.8.1. Saving data buffers
It is recommended to use an NFS share to store any temporary data (e.g. the measured signals using the acquire utility). Use a standard mount command to mount your NFS share (example):
redpitaya> mount -o nolock <ip_address>:/<path> /mnt
The /opt file system on Red Pitaya, representing the SD card, is mounted read-only. To save the data locally on Red Pitaya, redirect the acquisition to a file in the /tmp directory. The /tmp directory resides in RAM and is therefore volatile (clears on reboot).
redpitaya> acquire 1024 8 > /tmp/my_local_file
Alternatively, save the data directly to the NFS mount point:
redpitaya> acquire 1024 8 > /mnt/my_remote_file
2.4.8.1.1. Copying data - Linux users
If NFS share is not available, you can use secure copy:
redpitaya> scp my_local_file <user>@<destination_ip>:/<path_to_directory>/
Alternatively, Linux users can use graphical SCP/SFTP clients, such as Nautilus, for example (explorer window). To access the address line, type [CTRL + L] and type in the following URL: sftp://root@<ip_address>

Nautilus URL/address bar.
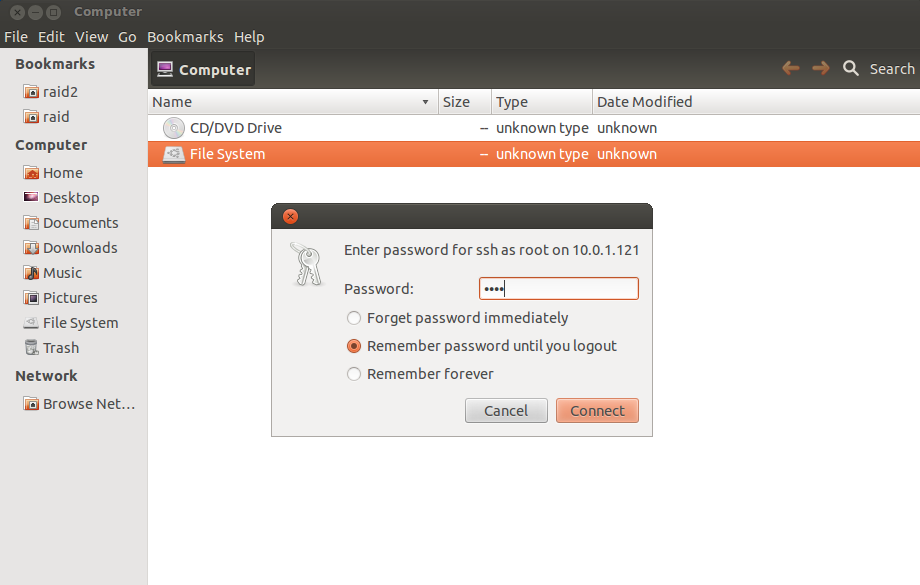
Type the Red Pitaya password (next Figure). The default Red Pitaya password for the root account is »root«. For changing the root password, refer to buildroot configuration - a mechanism for building the Red Pitaya root file-system, including the /etc/passwd file hosing the root password.
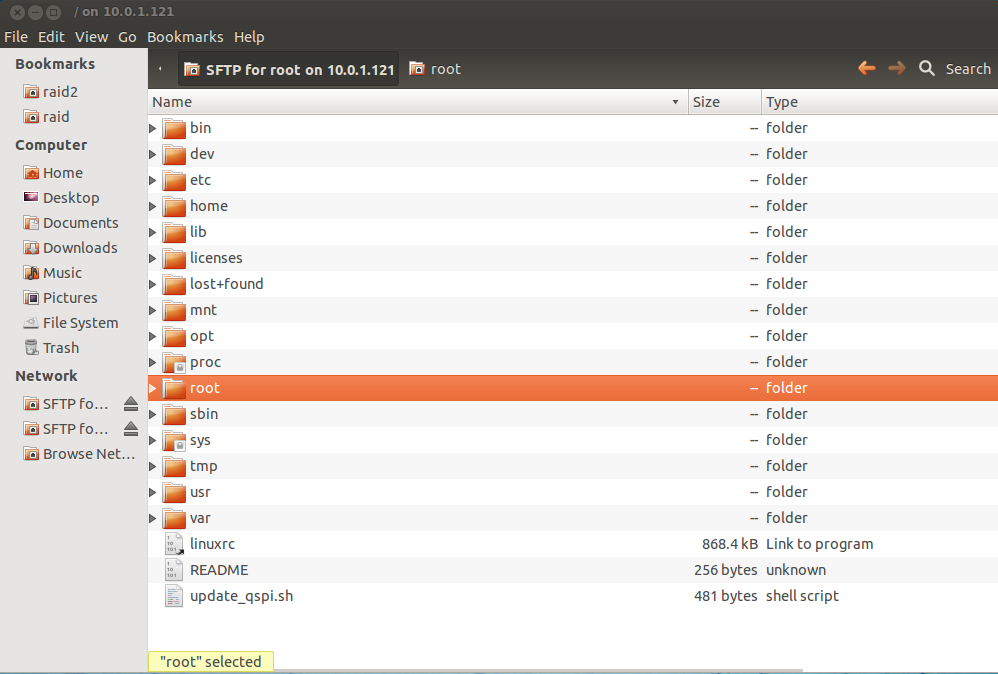
After logging in, the main screen will show the directory content of Red Pitaya’s root filesystem. To manipulate files on Red Pitaya, navigate and select your stored data, then use the simple copy-paste and drag-and-drop principles (see Figure 2).
2.4.8.1.2. Copying data - Windows users
Windows users should use an SCP client such as WinSCP. Download and install it, following its installation instructions. To log in to Red Pitaya, see the example screen in the next figure.

WinSCP login screen.
After logging in, the main screen will show the content of the Red Pitaya root filesystem. To manipulate files on Red Pitaya, navigate and select your stored data, then use the simple copy-paste and drag-and-drop principles (see next figure).
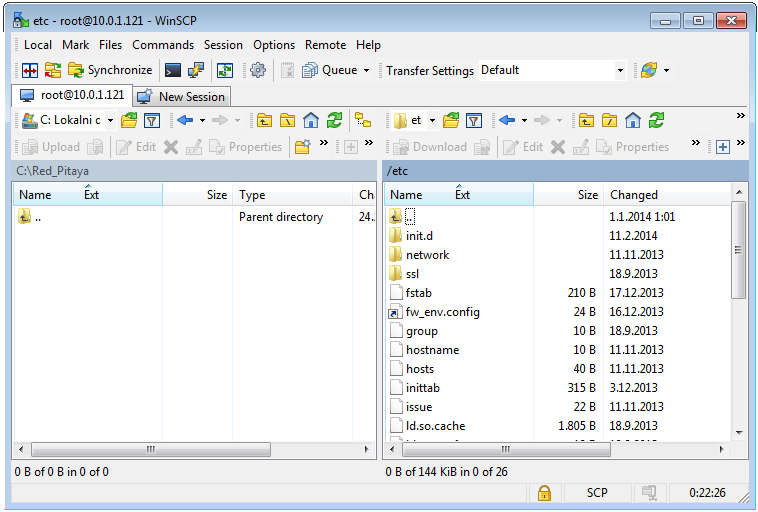
Directory content on Red Pitaya.
Select the destination (local) directory to save the data file to (see next Figure).
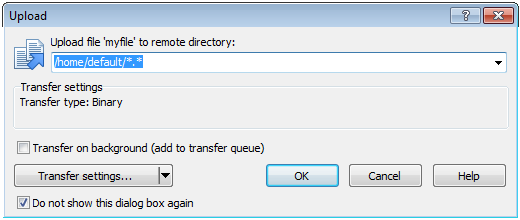
Select file copy destination.