2.1.10. SDR
2.1.10.1. What is in the box?
The following accessories and materials are included with your Red Pitaya SDR transceiver module.
SDR transceiver 160-10 10 W module
DC power cord with an Anderson Power Pole™ connector
4 x SMA cable for connecting the C25 module with the STEMlab 125-14 and antenna
impedance transformer board
2.1.10.2. Other additional requirements
In addition to the supplied accessories, software, and cables supplied with the Red Pitaya SDR transceiver kit, you will need to provide the following:
An HF-Antenna or dummy load with BNC
good RF ground
A stabilized DC 13.8 VDC, 3A Power Supply
SDR application requirements:
A personal computer (PC) running Windows 7 or later. Either 32- or 64-bit operating systems are supported.
2.1.10.3. Start using Red Pitaya as a Radio Station - SDR transceiver
2.1.10.3.1. Connecting the cables
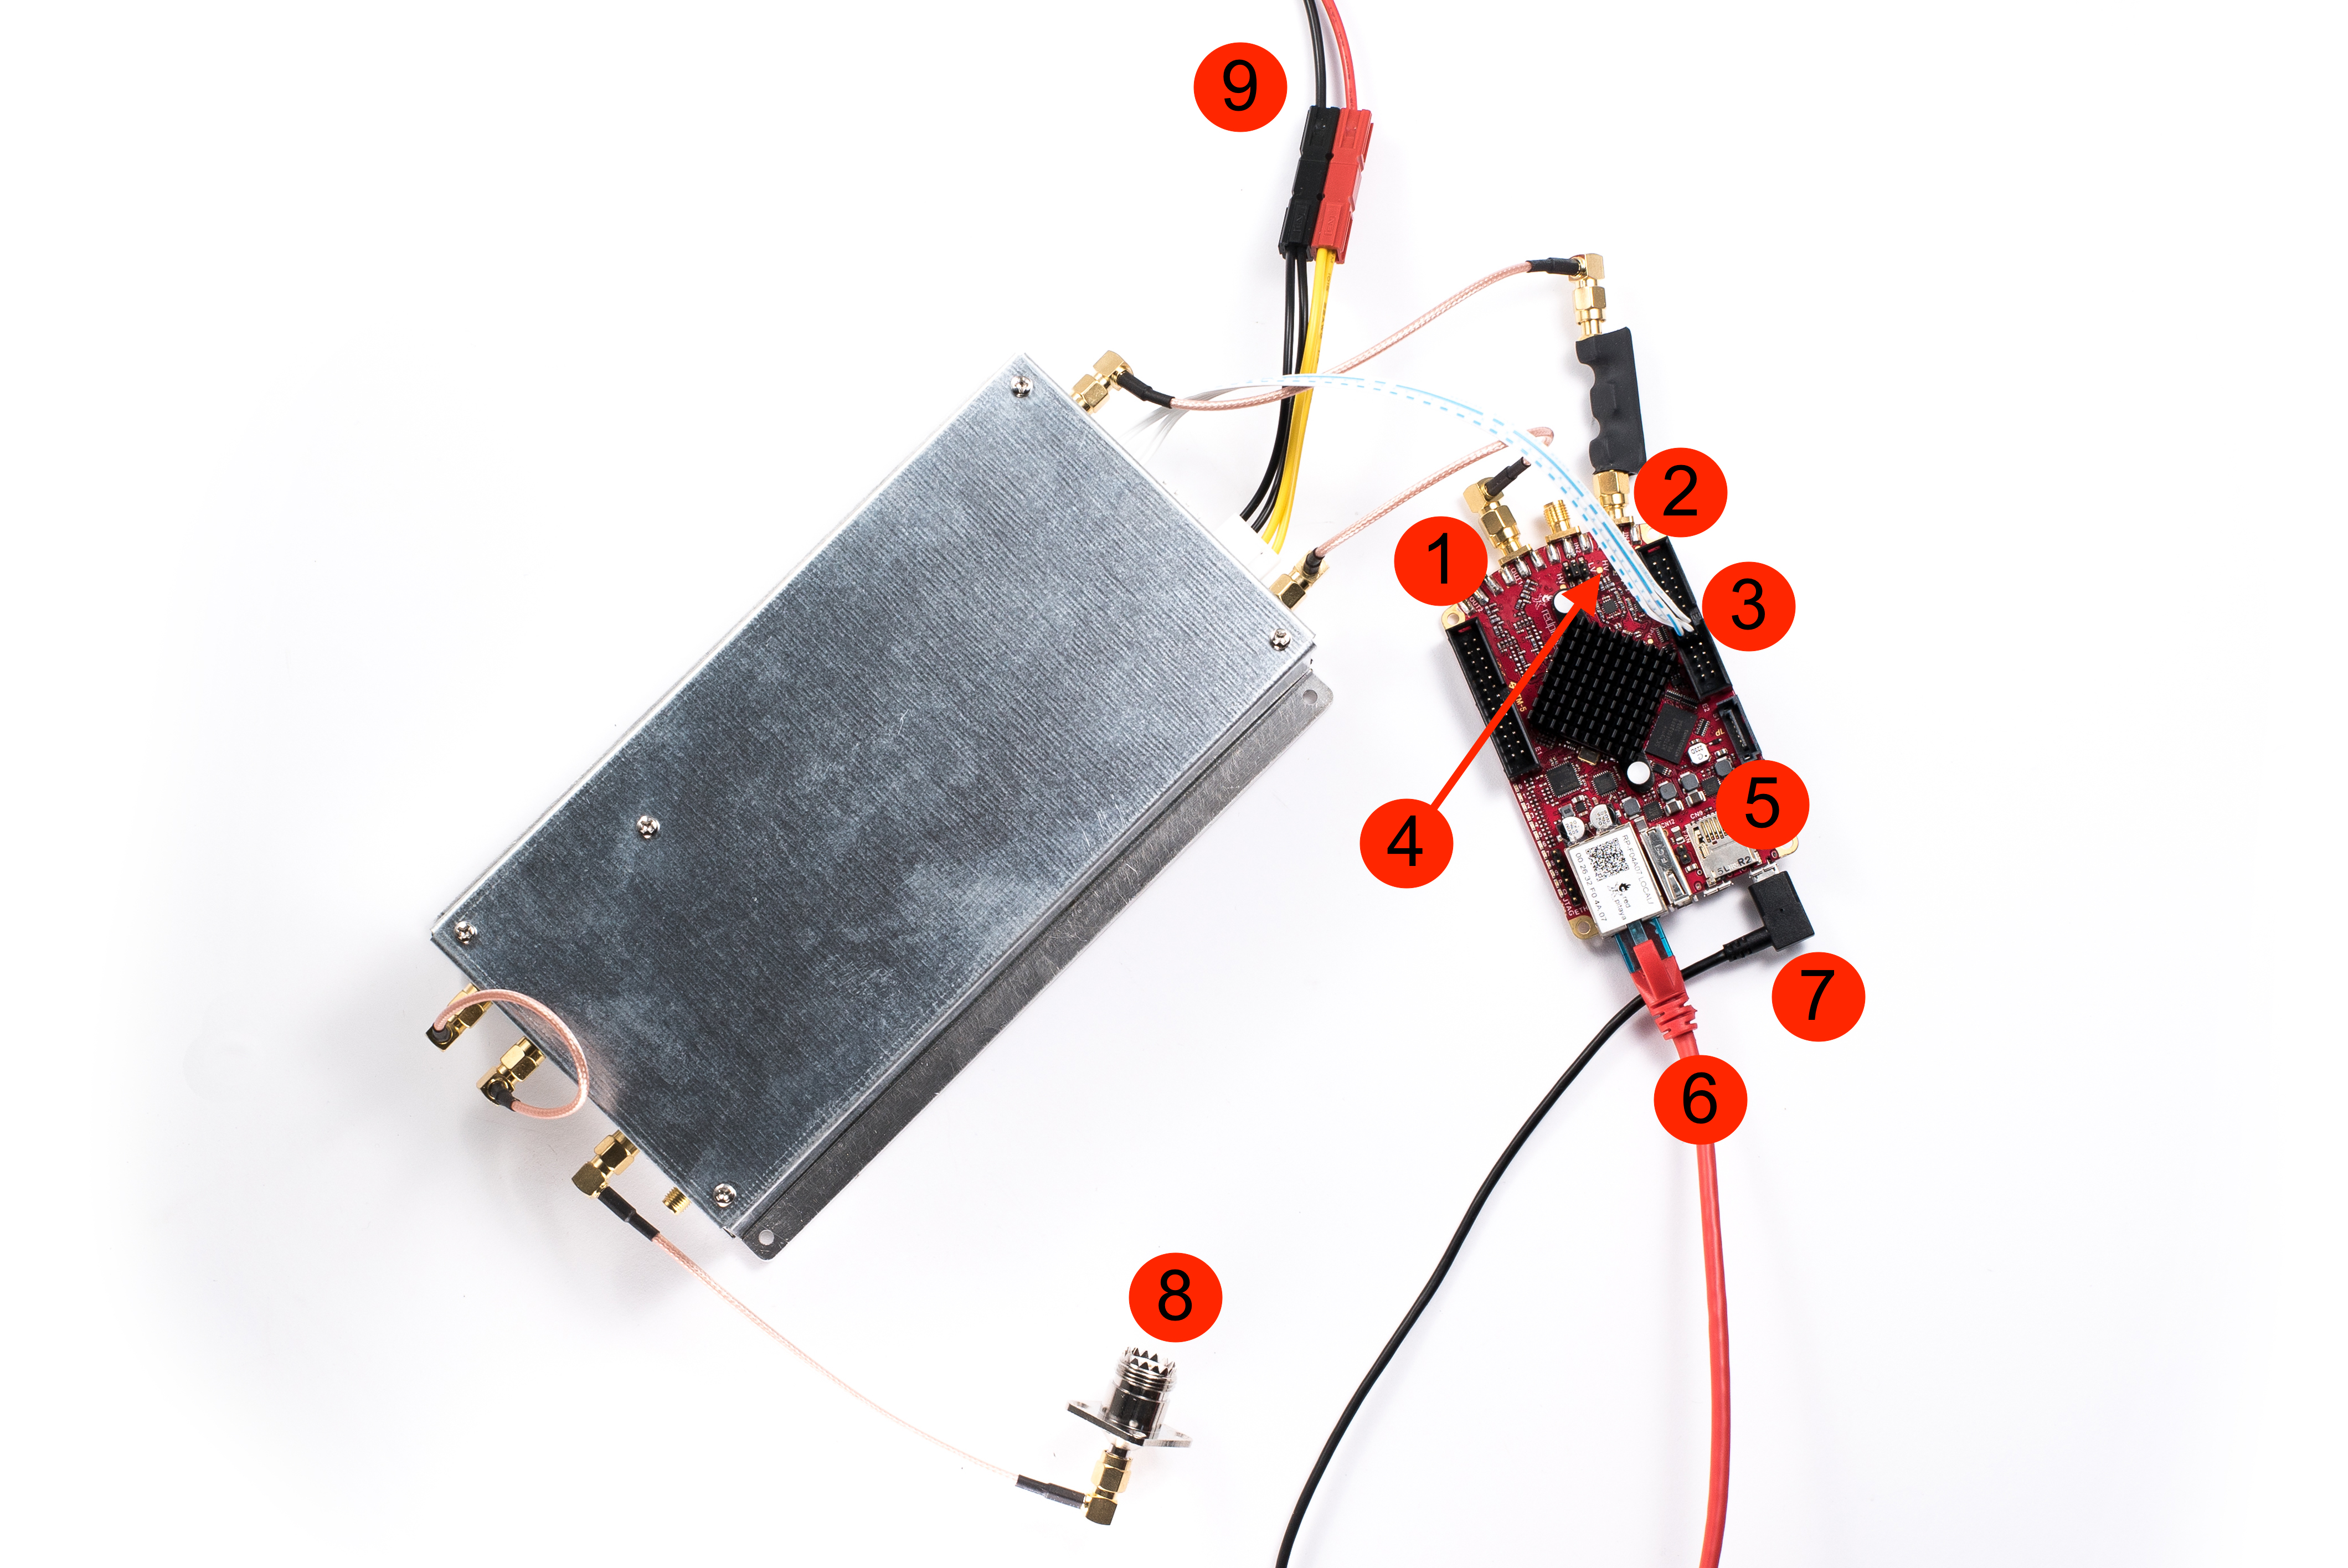
Note
Before connecting the Red Pitaya to the SDR transceiver module, turn the Red Pitaya off by removing the power supply cable.
Connect the Tx of the SDR transciver module to the Red Pitaya OUT1 connector.
Connect the Rx of the SDR transciver module to the Red Pitaya IN1 (notice this cable has a transformer).
Connect the control cable from the SDR transceiver to the Red Pitaya
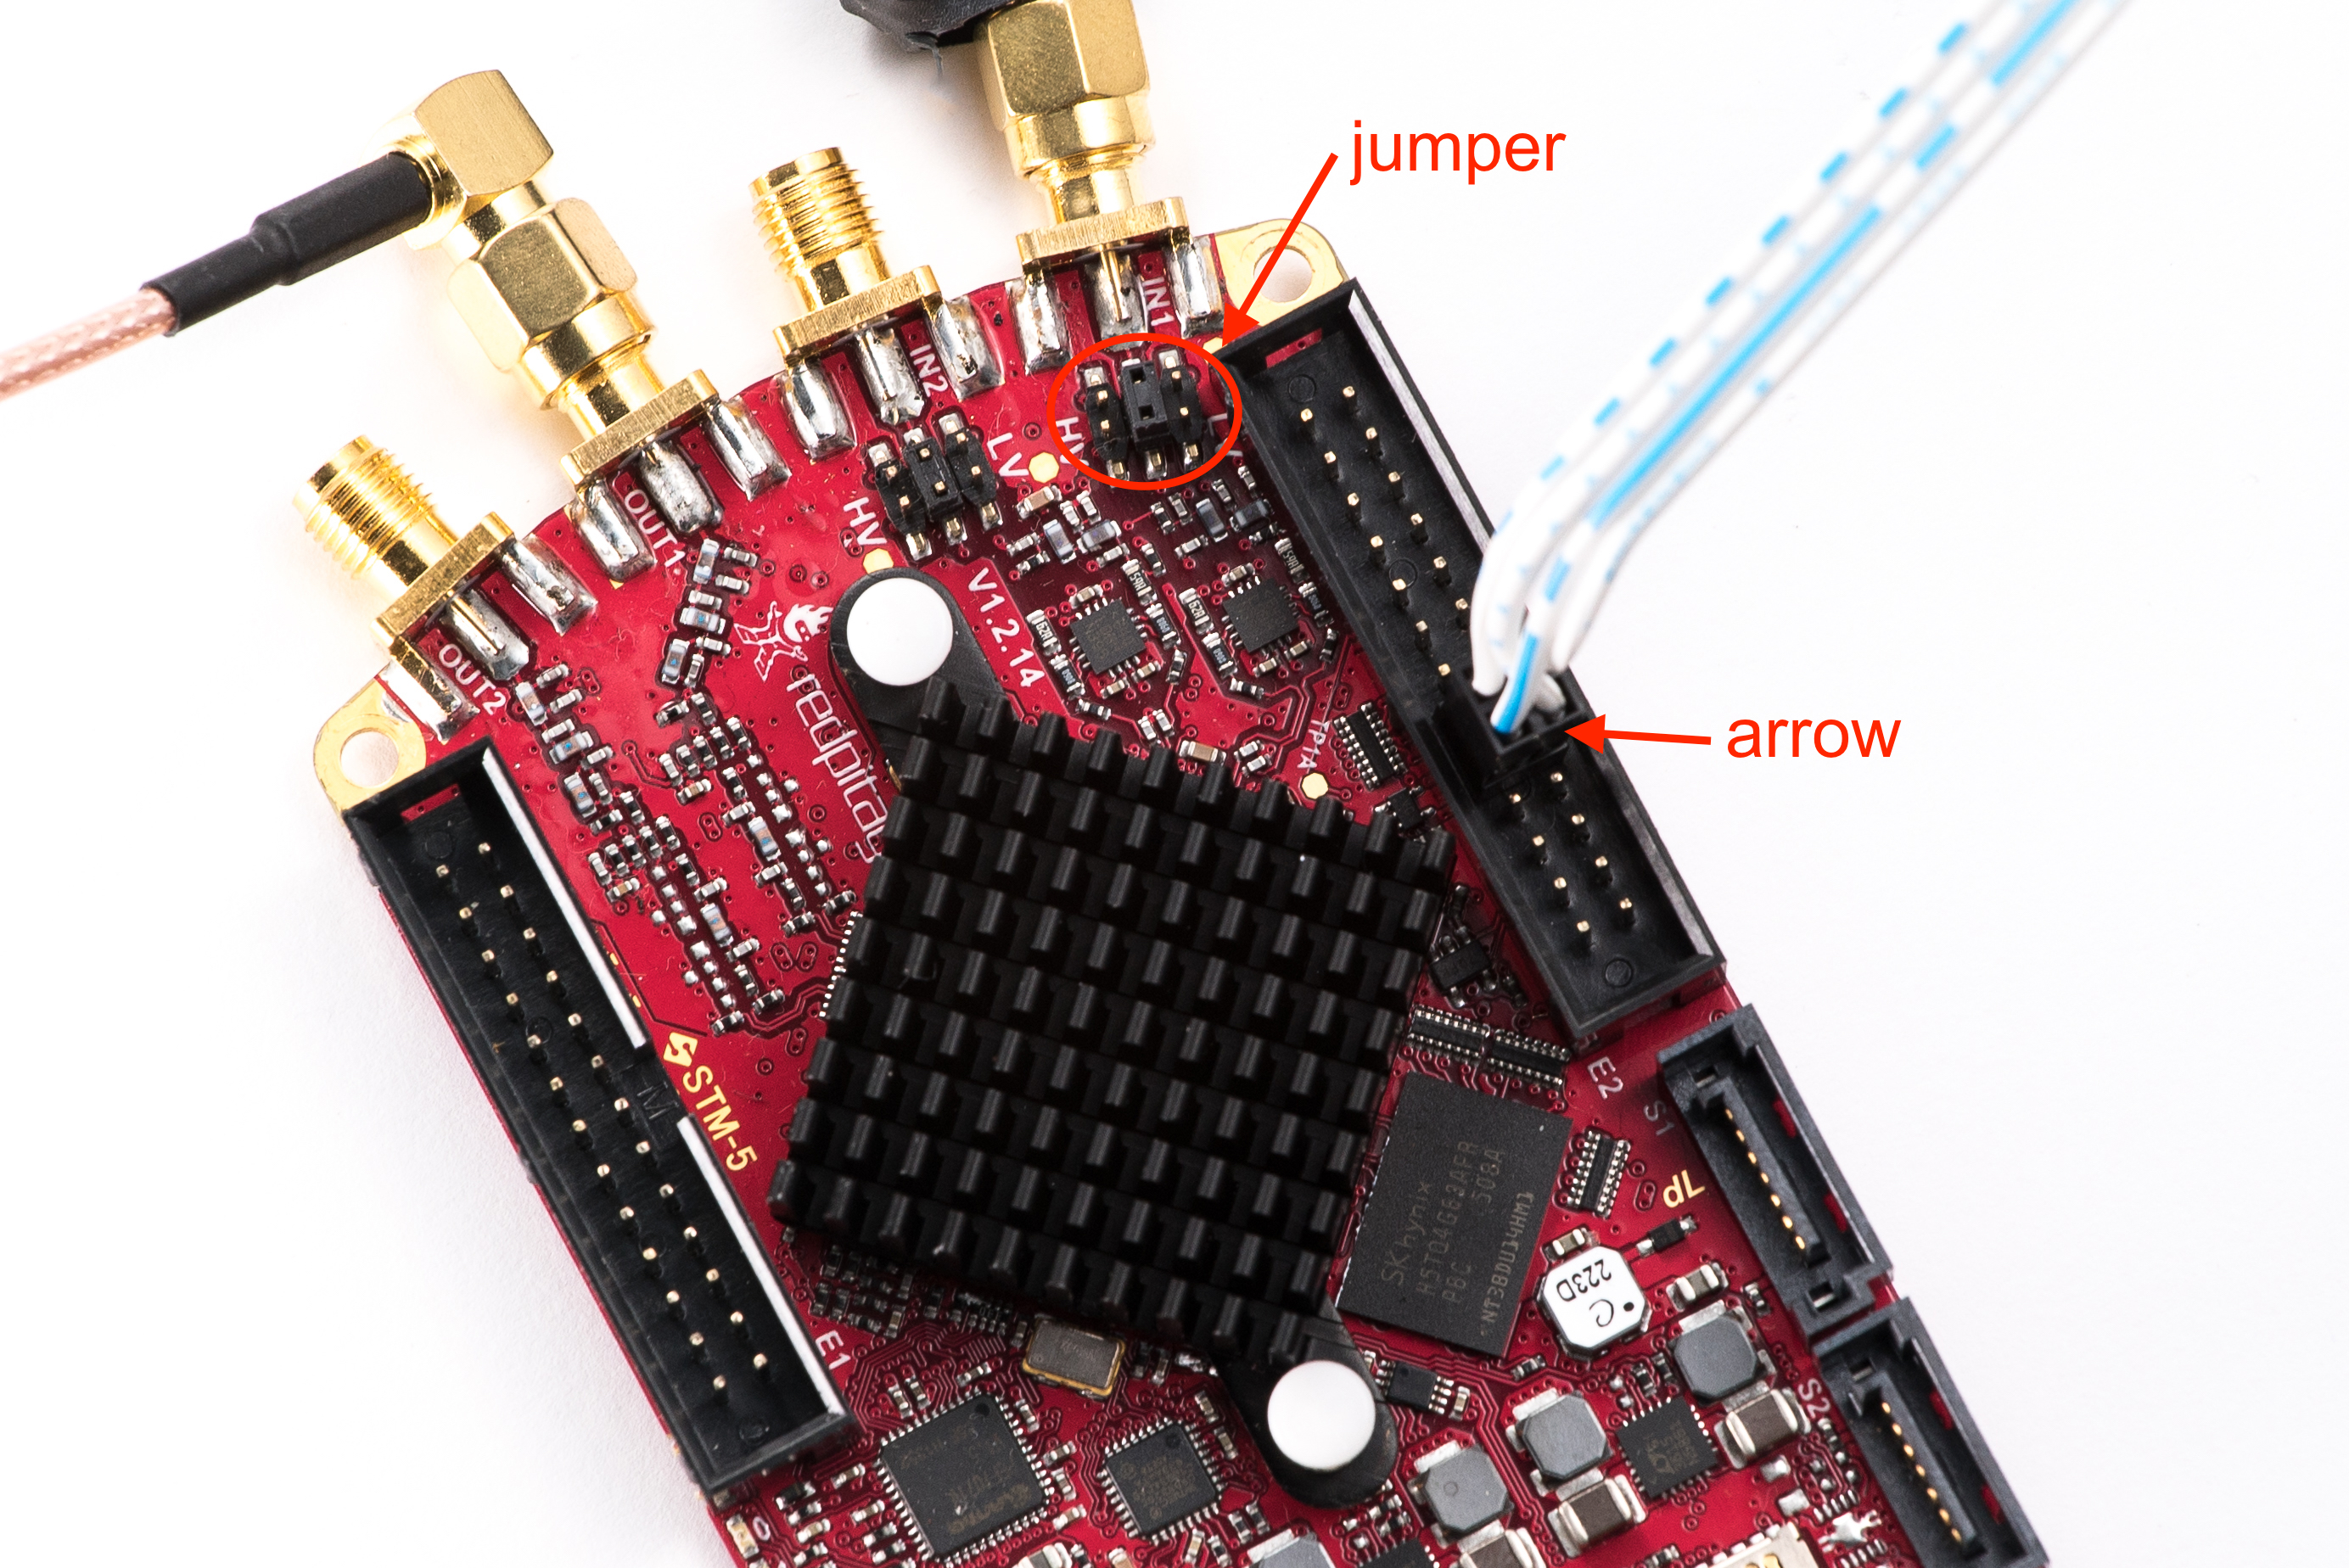
Check that the jumper is configured as shown in the image above.
Verify that your SD card is still inserted.
Double-check that your Ethernet cable is still plugged in.
Reconnect the power supply (5V 2A) to restart the Red Pitaya.
Connect the antenna
Hook up the SDR transceiver to the 13.8V 3A power supply.
Note
The Red Pitaya SDR transceiver module should be powered by a DC 13.8V power supply that can provide at least 3 A of constant power. Make sure it’s turned off before connecting it to the module with a DC power cord and an Anderson Power PoleTM connector (9). The RED wire is positive (+) while the BLACK wire is negative (-). Double check to not mix the colours or polarity!
Turn on the 13.8 V power supply.
2.1.10.4. Power SDR installation and SDR configuration
Click here to download the Power SDR installation package.
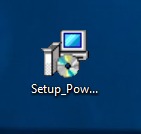
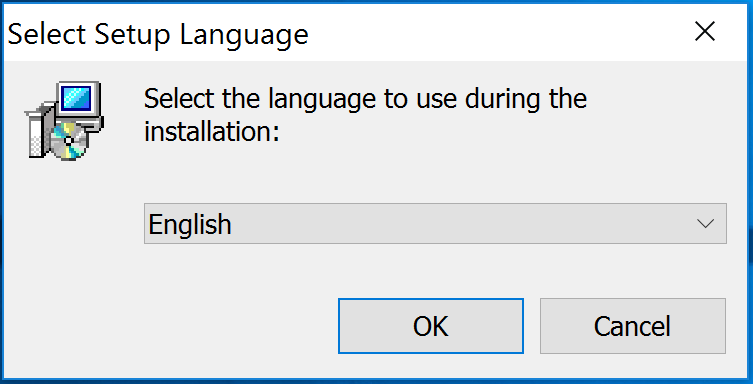
Start the installation by double clicking on the Setup_PowerSDR_STEMlab_HAMlab_Edition.exe file.
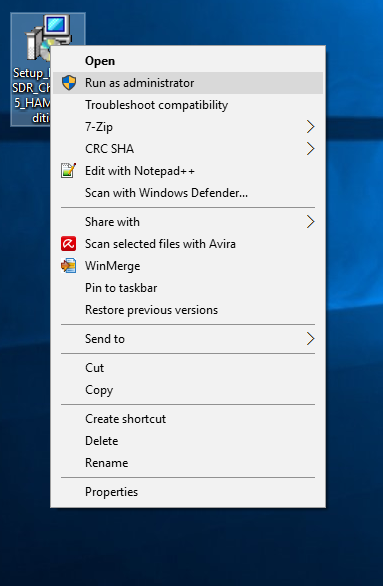
If you are asked for extended user access rights during the installation, click Yes! Running the installer with administration rights will work as well.
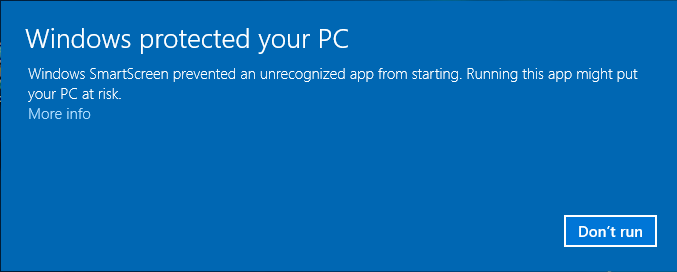
On Windows 10, you might get a warning of an unknown publisher. You can proceed with installation by clicking on more info and then Run anyway.

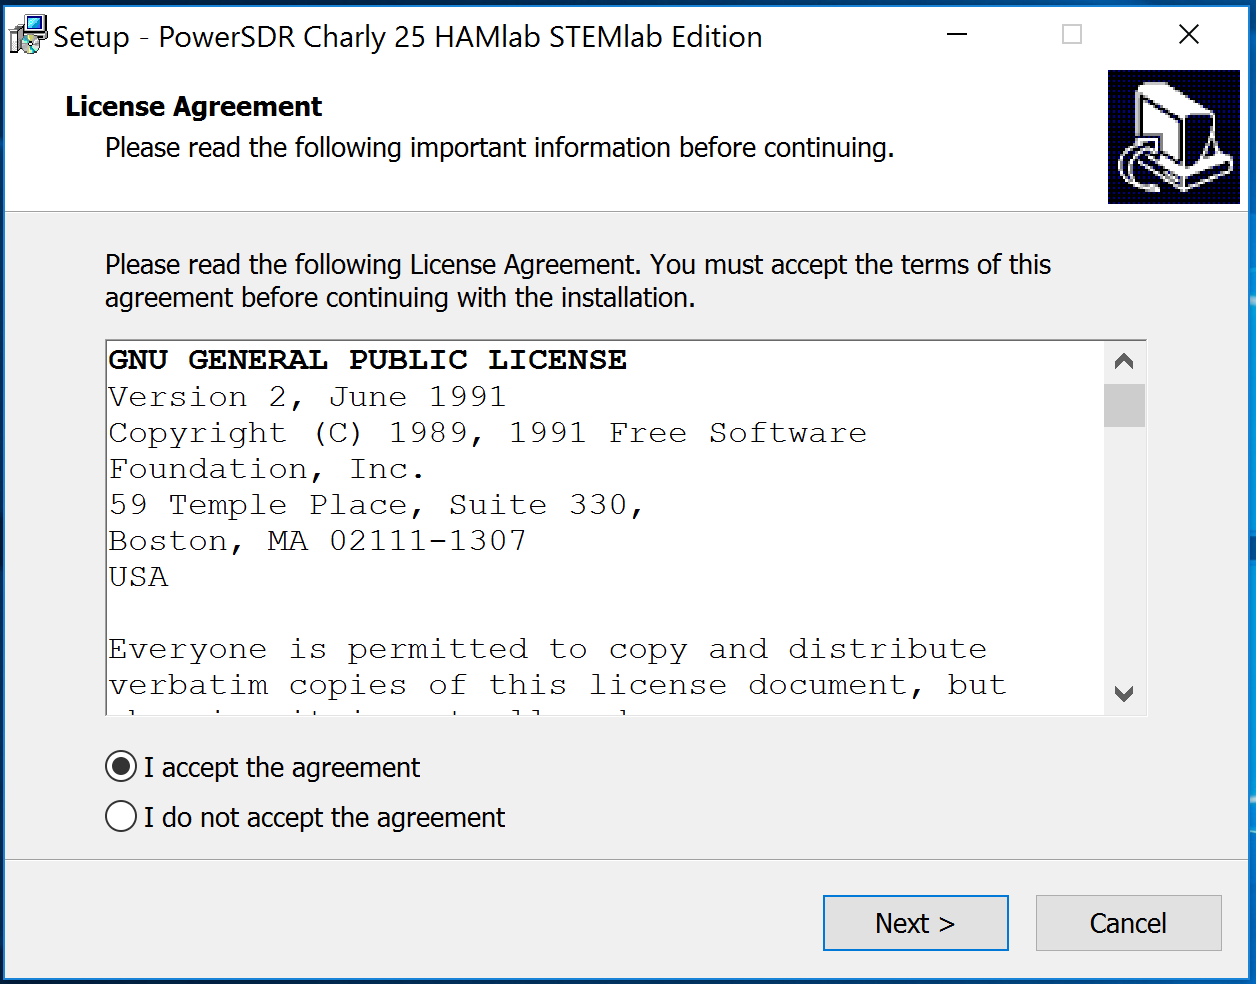
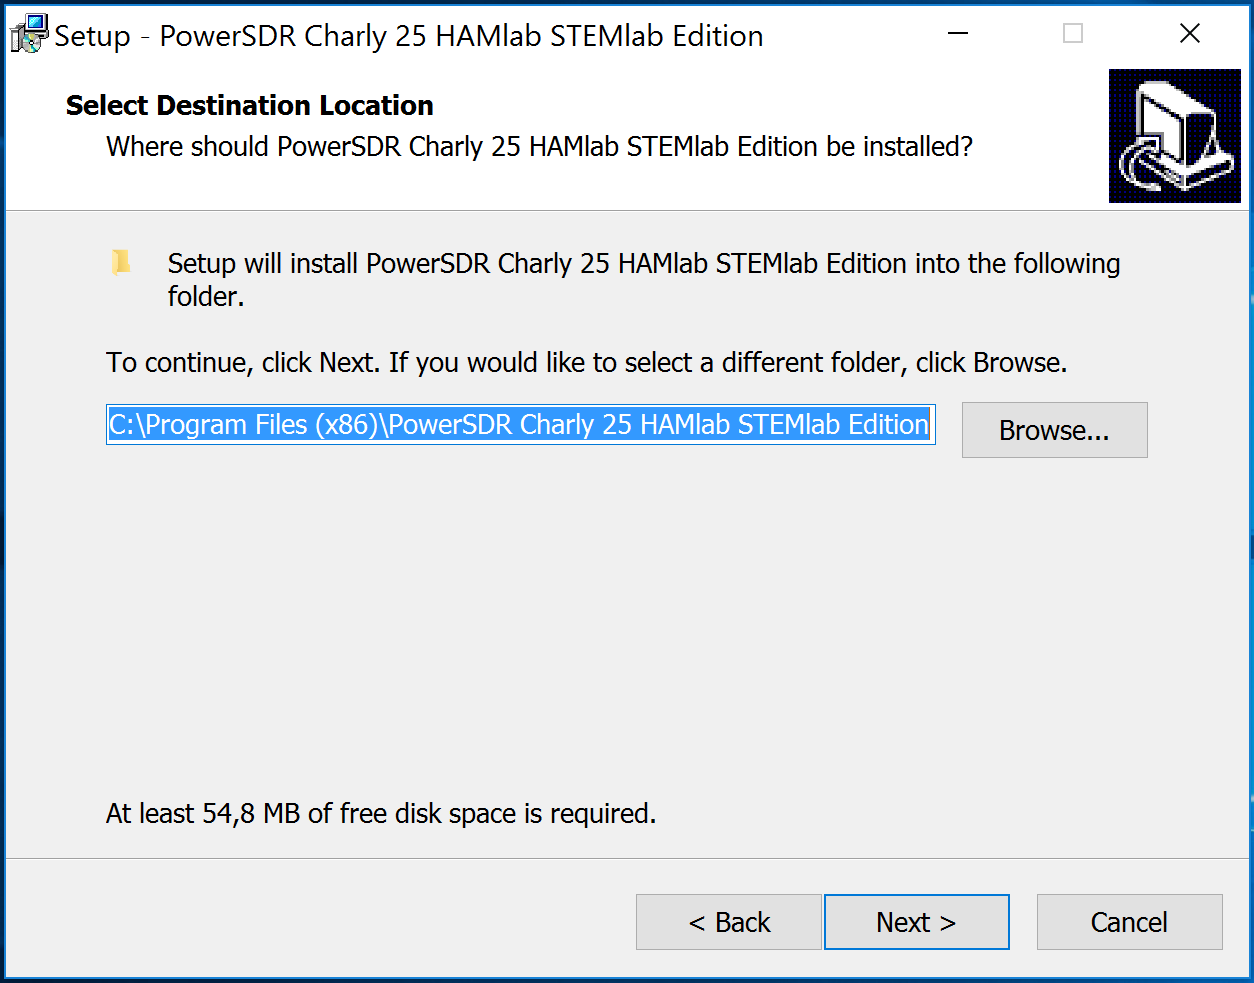
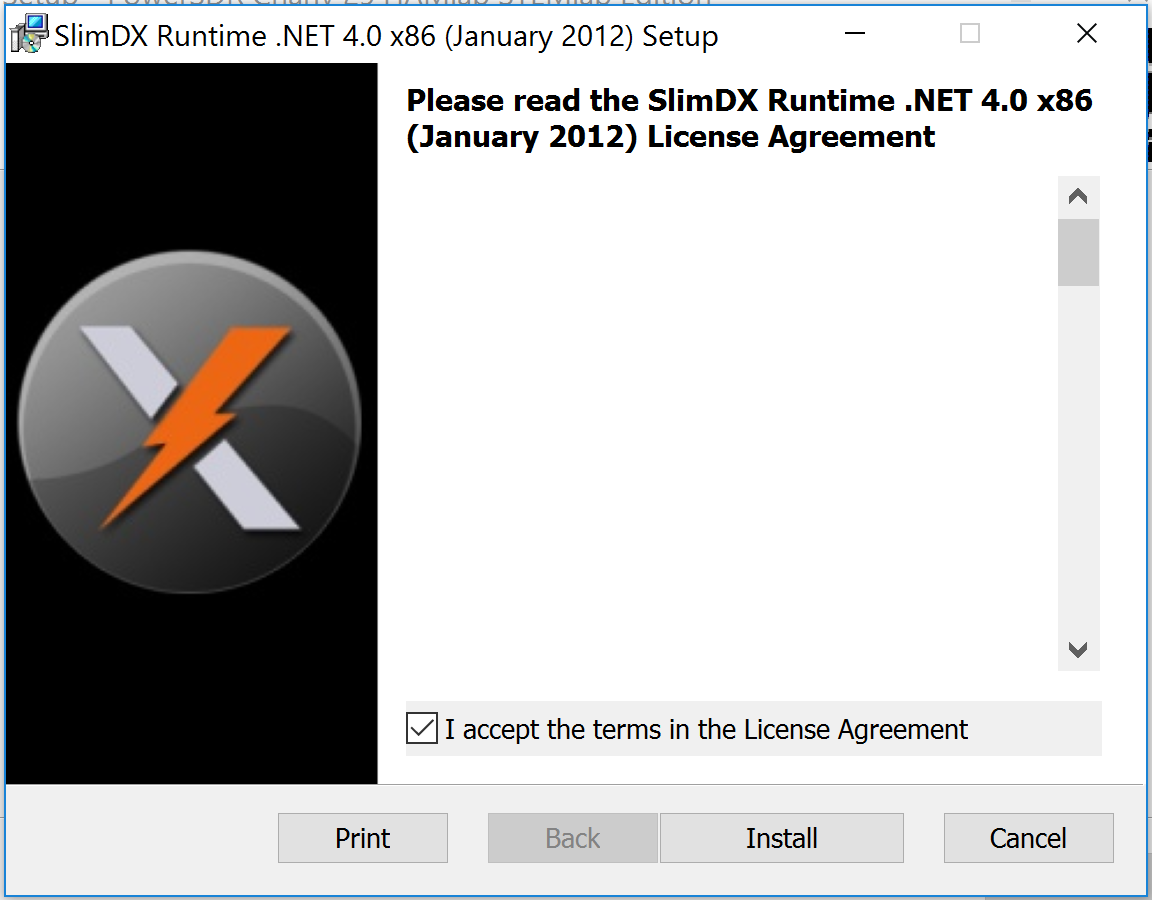
Follow the instructions of the setup routine and accept the license agreements if asked for.
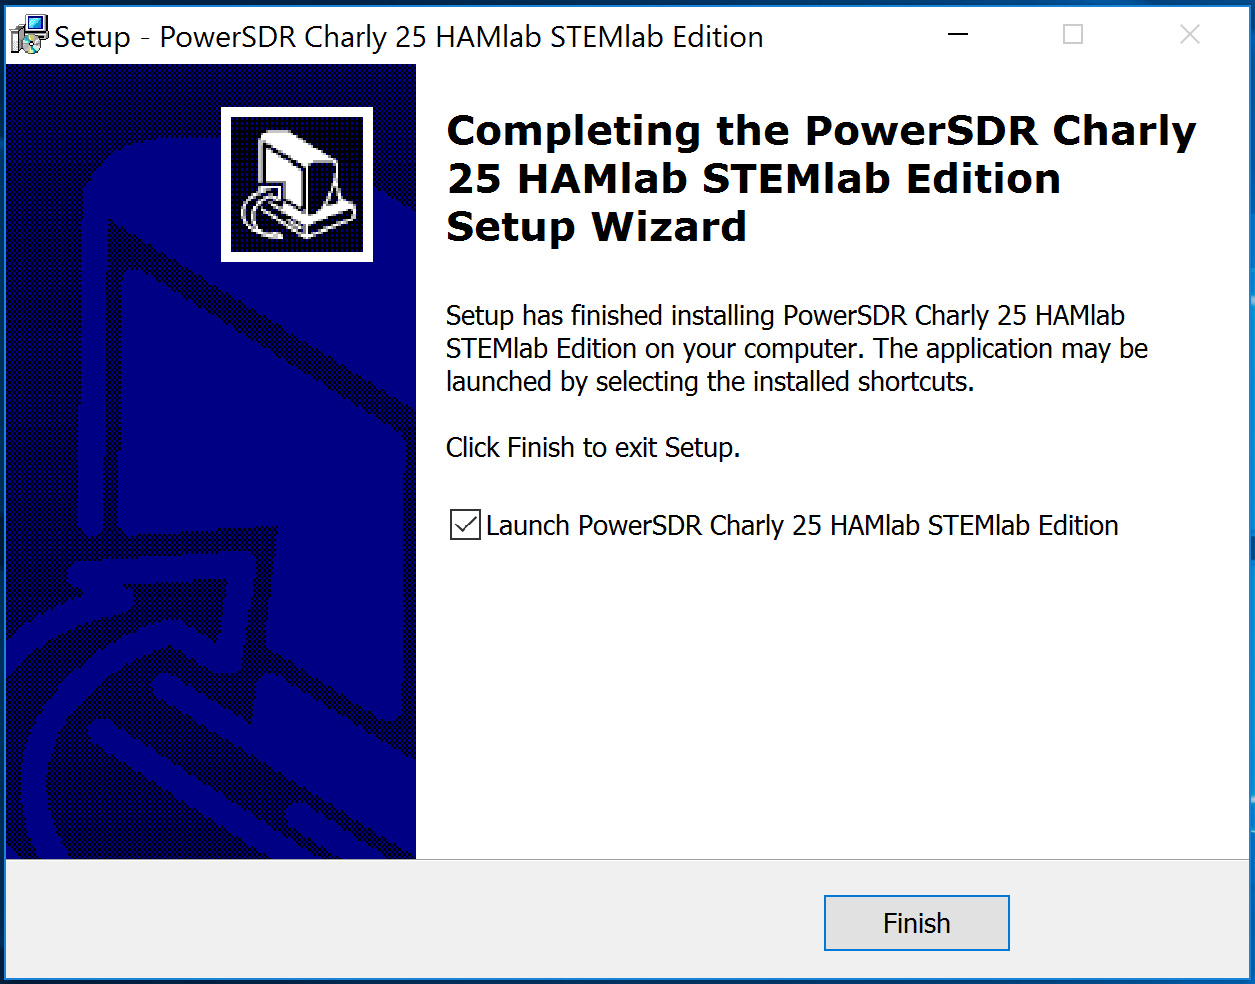
At the end of the installation, you are asked if you want to run PowerSDR software immediately. Feel free to do so.
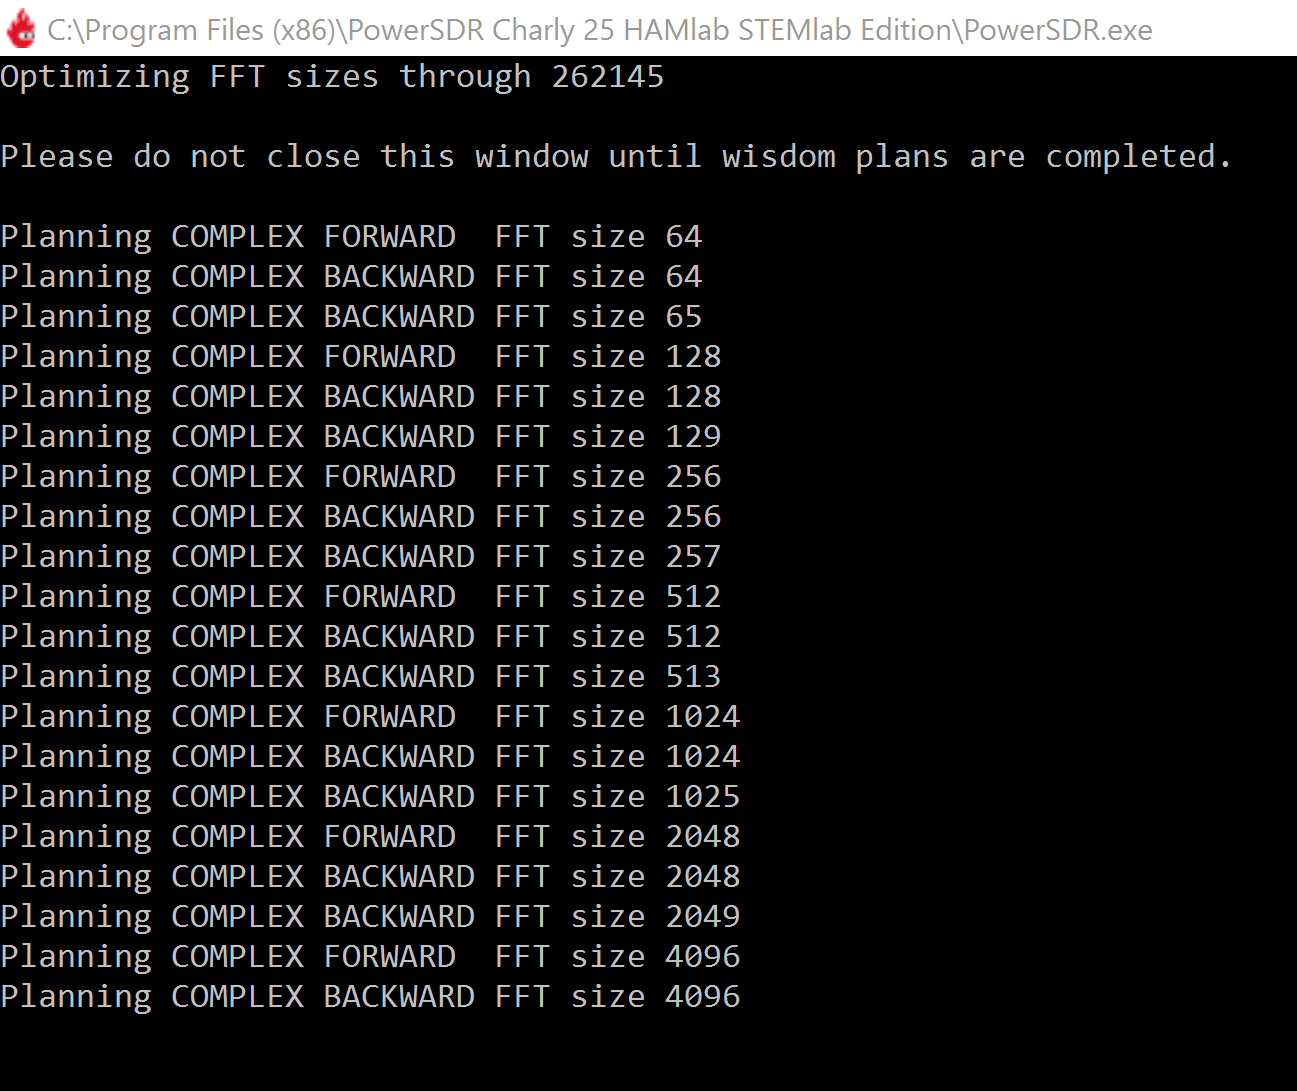
The PowerSDR software will start with the calculation of the FFT wisdom file, which will take a while depending on the CPU power of your computer. This is only done once, even after updating the software to a new version in the future:
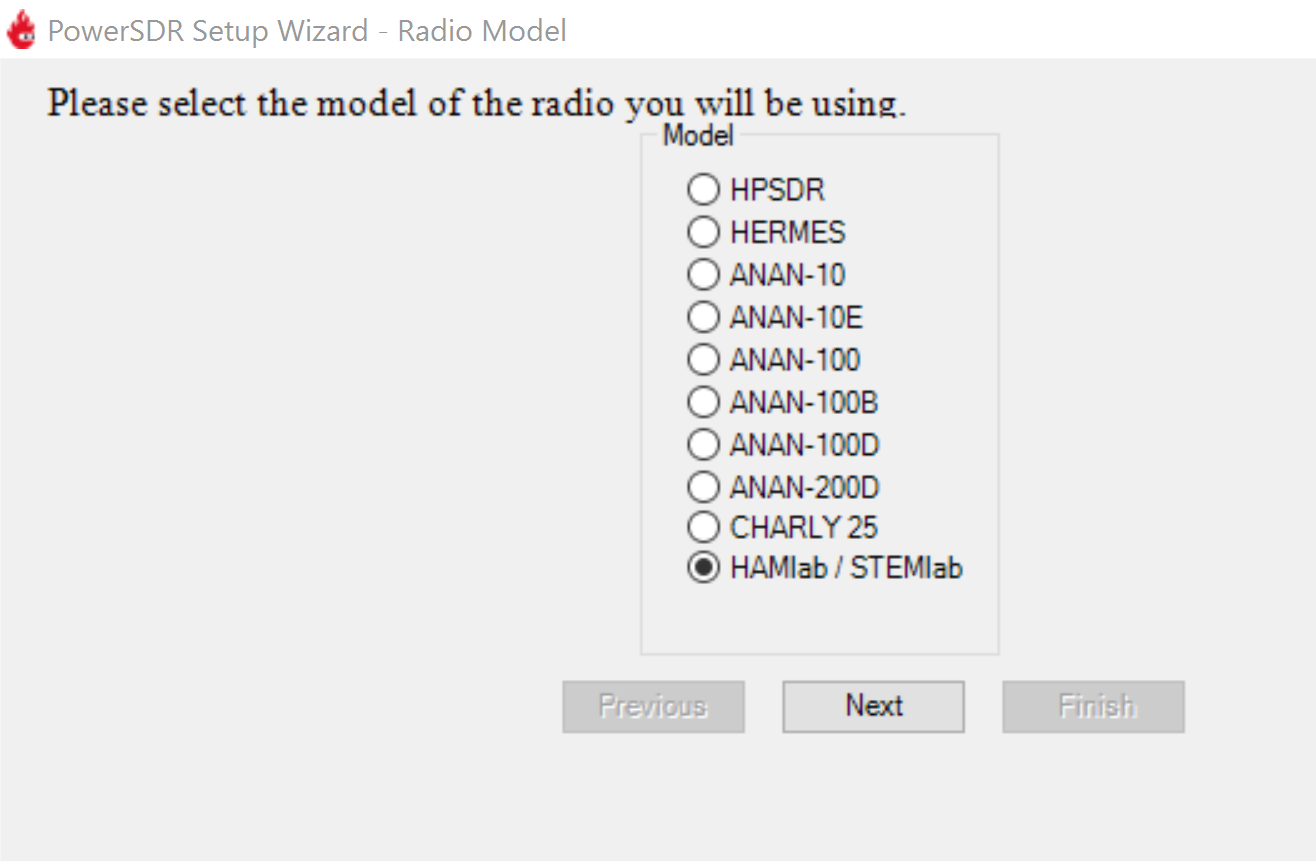
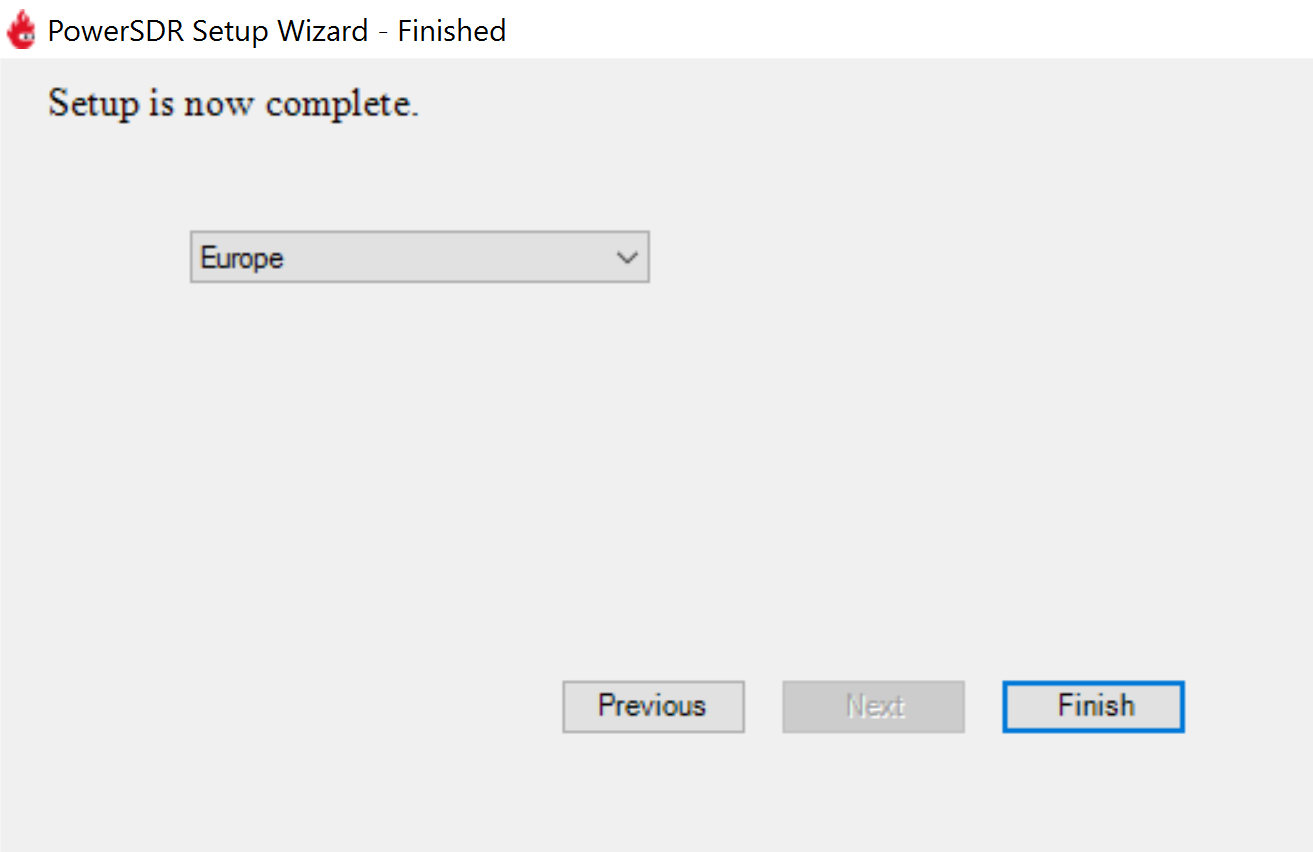
After starting the PowerSDR software, you will be led through the PowerSDR software specific setup wizard, which lets you configure the software to use it with your Red Pitaya. Pick the HAMlab/RedPitaya radio model.
Select the region where you are using your Red Pitaya. This is important due to the different frequency ranges you are allowed to transmit in the different countries all over the world:
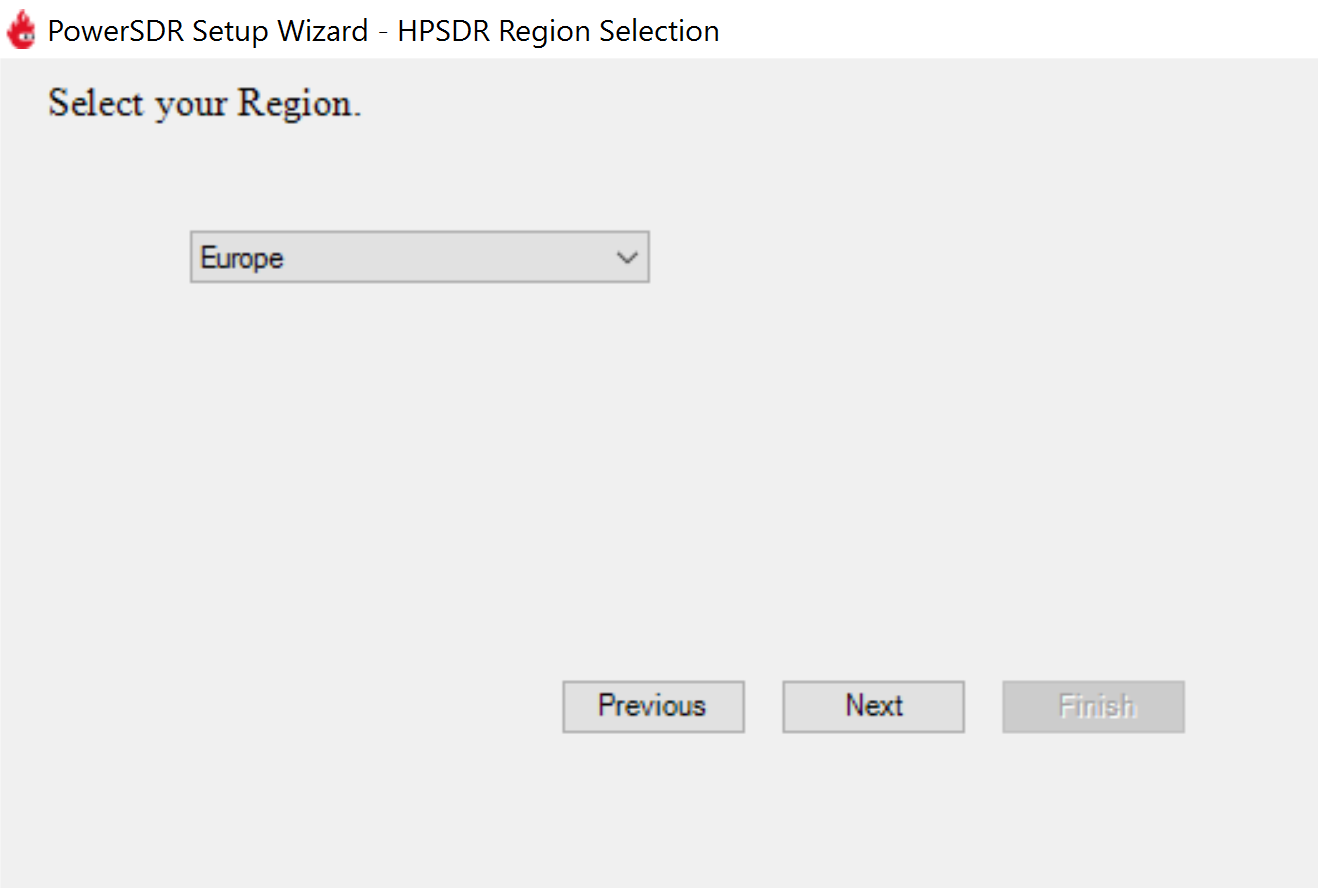
Your initial setup is completed. Click Finish.
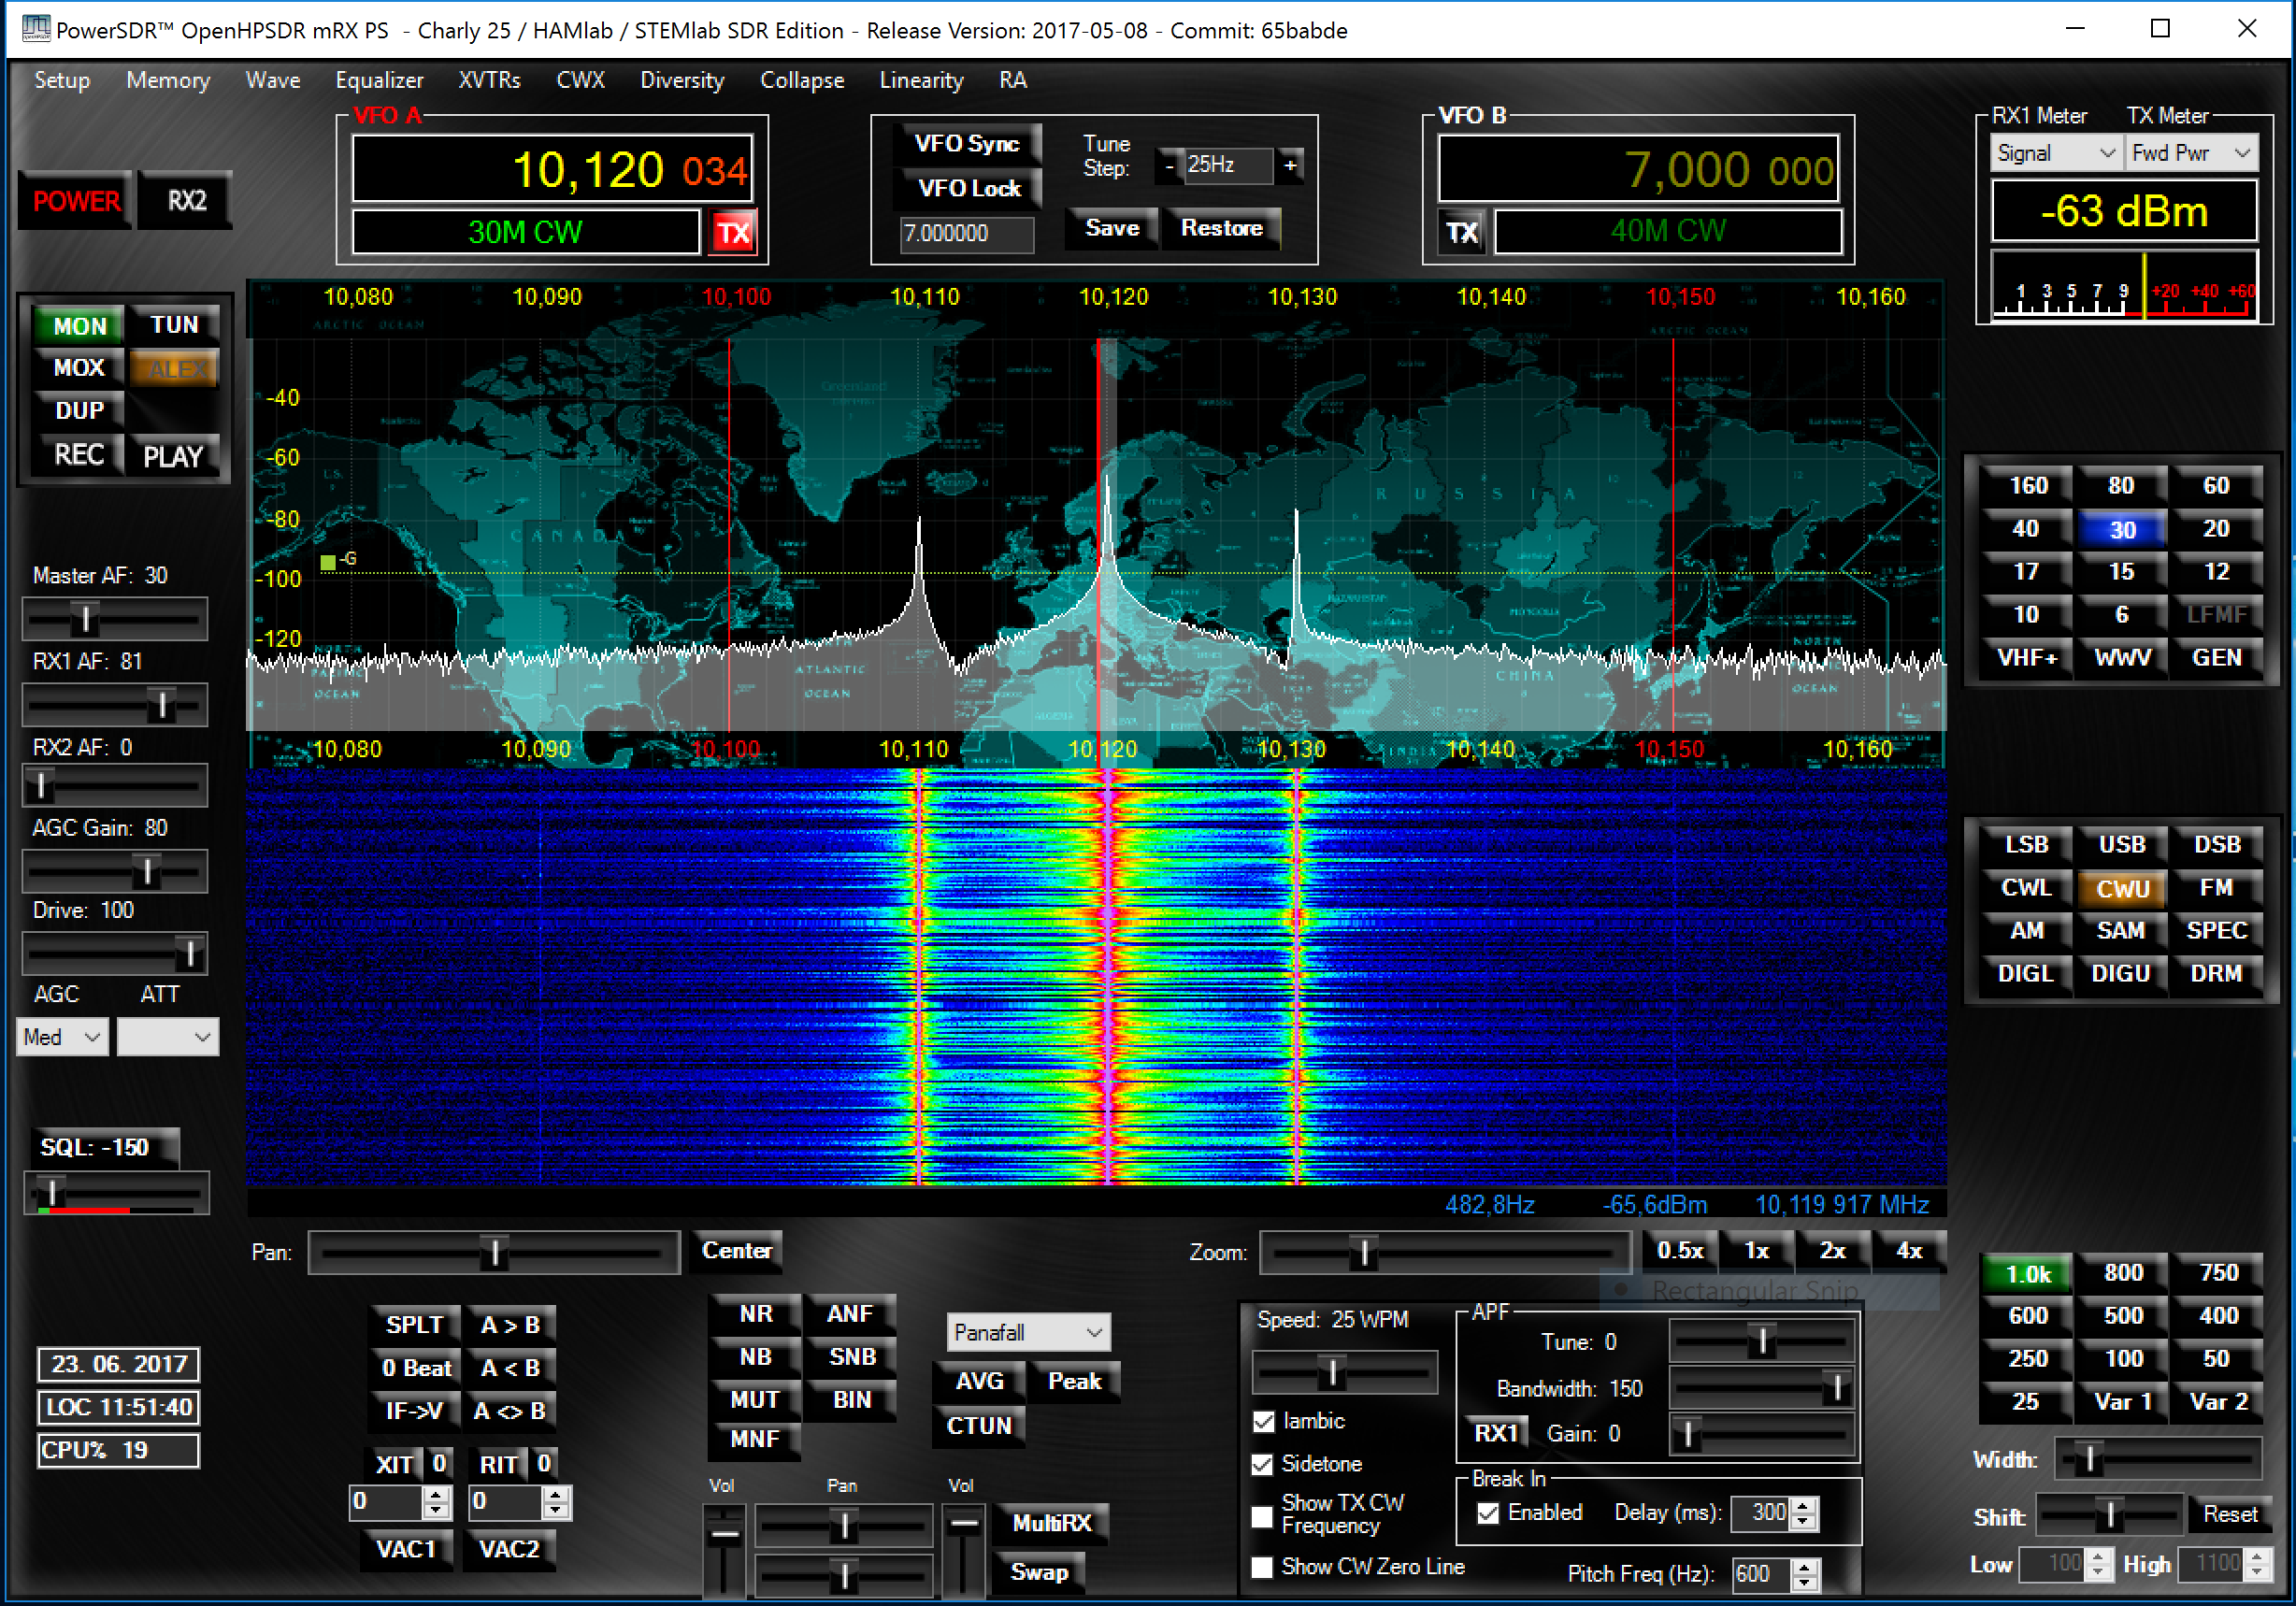
Click Power to connect Power SDR with Red Pitaya. On the screen, the input signal should appear.
2.1.10.5. General Specifications
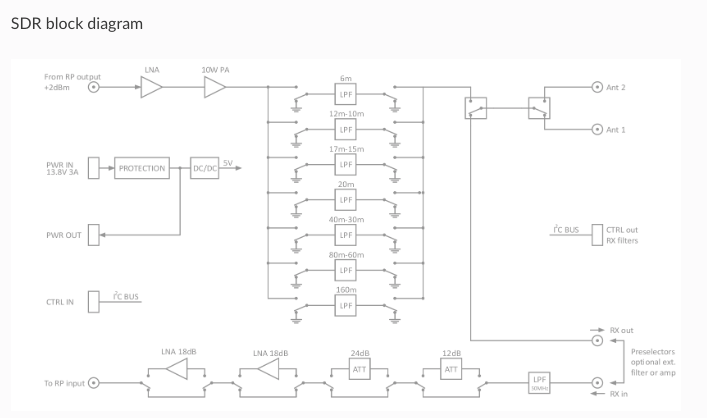
Antenna Connector: |
ANT1 and ANT2 available on SMA connectors. One cable with SMA to SO-239 UHF included |
Antenna Impedance: |
50 Ohm Unbalanced |
RF Output Power: |
up to 10 W CW and SSB at 13.8 V input voltage (max. 15 V) |
Maximum Interconnect Cable Length Ethernet: |
100 meters (328 feet), Category 5 cable |
Power connector: |
PowerPole |
2.1.10.6. Receiver Specifications
Architecture: |
Direct Digital Sampling |
ADC Sampling Rate: |
125 Msps |
ADC Resolution: |
14 bits |
Wideband Frequency Coverage: |
25 kHz - 62.25 MHz |
MDS (min. detectable signal): |
MDS (typ)@ 500 Hz BW |
Preamp OFF at 14 MHz |
-113 dBm |
Preamp +15 dB at 14 MHz |
-130 dBm |
Preamp +30 dB at 50 MHz |
-135 dBm |
More MDS measurements. |
|
Preselectors: |
Available as an add-on module (comming soon) |
User can also connect own preselectors/filters |
2.1.10.7. Transmitter Specifications
Architecture: |
Direct Digital Up-conversion |
TX DAC Sampling Rate: |
125 Msps |
TX DAC Resolution: |
14 bits |
RF Output Power: |
up to 10 W CW and SSB at @ 13.8 V input voltage (max. 15 V) |
Transmitter Frequency Range: |
160 - 10 m (amateur bands only)* |
Low Pass PA Filter Bands: |
160 m / 80 m / 40 m / 30 m / 20 m / 17 m / 15 m / 12 m / 10 m / 6 m |
(possibility to changed it to any range 1.8 - 50 MHz) |
|
Emission Modes Types: |
A1A (CWU, CWL), J3E (USB, LSB), A3E (AM), F3E (FM), DIGITAL (DIGU, DIGL) |
DIGITAL (DIGU, DIGL) |
|
Harmonic Radiation: |
better than -45 dB |
3rd-Order IMD: |
better than -35 dB below PEP @ 14.2 MHz 10 Watts PEP |
Cooling: |
copper heat spreader |
Note
C25 also supports 6 m operation and has all the necessary output filters for 6 m. Anyhow, the STEMlab 125-14 output signal is not pure enough to comply with harmonic regulations for 6 m.